
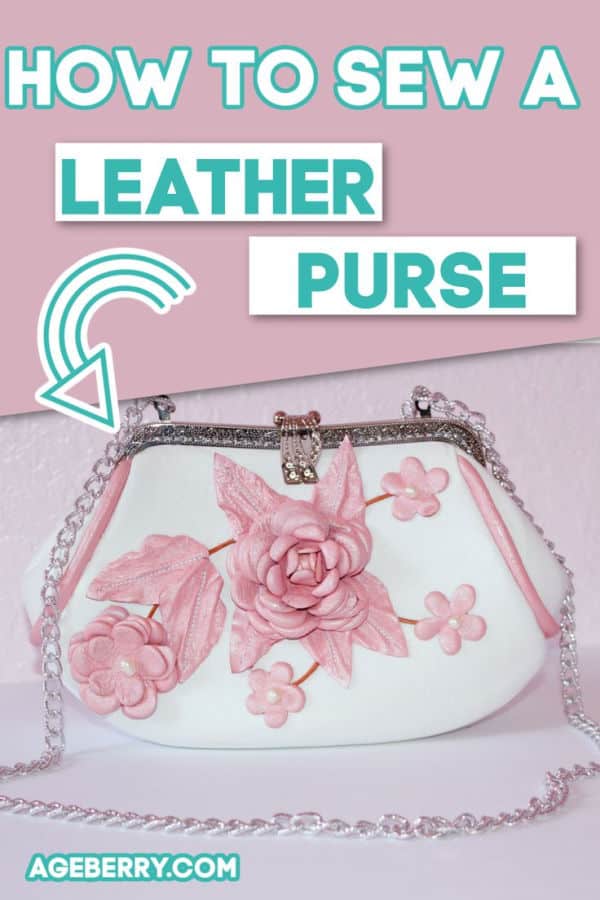
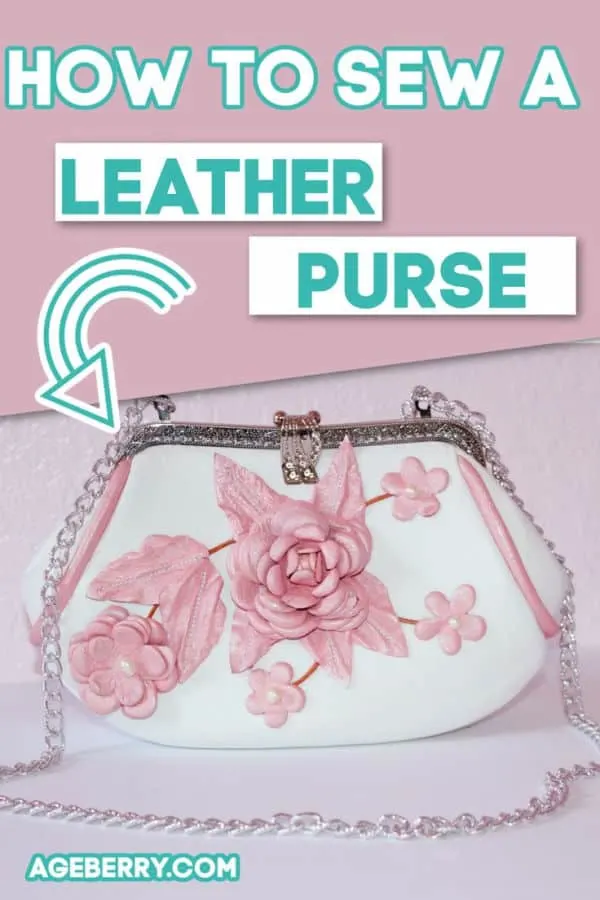
In this article, I want to show you how to sew a lining and a stabilizer for my DIY leather bag, how to make leather flowers and leaves for the purse embellishment, how to sew the metal purse frame, and how to finish the purse.
This is the second part of my tutorial on making a leather purse. If you prefer a video tutorial go to my YouTube channel – you can watch it here. I still recommend you read the article first, the video will be better understood after.

If you read part 1 of this tutorial on sewing leather bags you would have seen me cutting the pattern pieces from leather, making piping, and stitching all seams. So, let’s continue with this tutorial.
1. Sew a purse stabilizer and a lining.
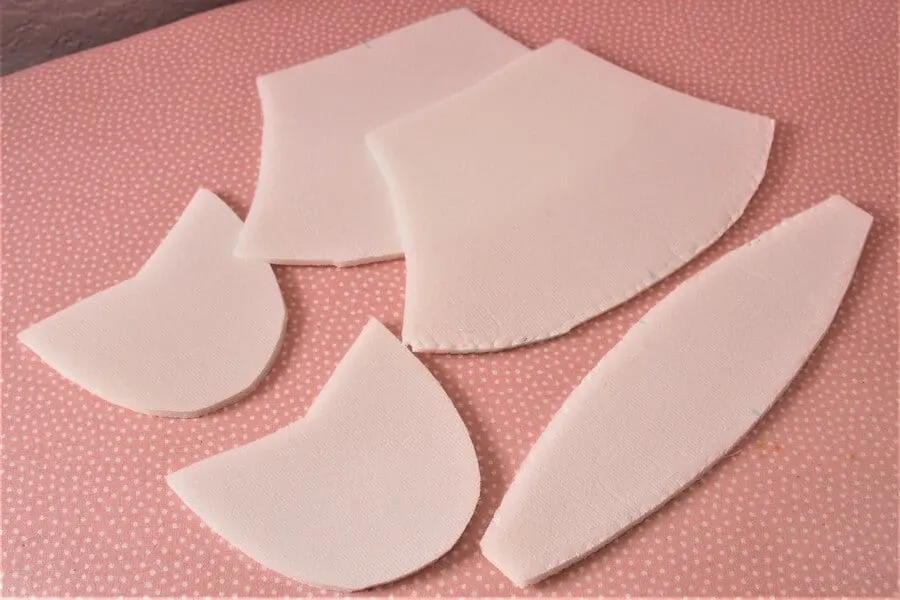
Let me remind you how we cut the lining and stabilizer pieces.

Do you want to download my free PDF leather purse pattern? I didn’t find many free leather bag patterns online so here is your chance. The pattern is in my RESOURCE LIBRARY. If you are a subscriber you will find the password to enter the library in my weekly emails. Subscribe to the form below to download the pattern.
Note: Some of the links on this page are affiliate links. This means I will receive a commission if you order a product through one of my links. I only recommend products I believe in and use myself.
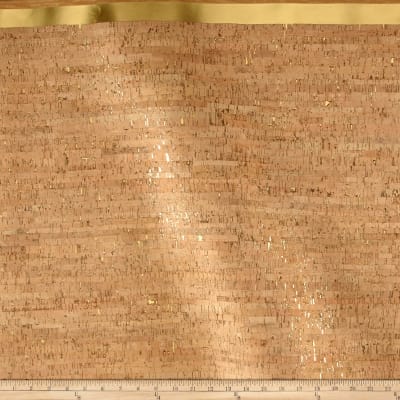
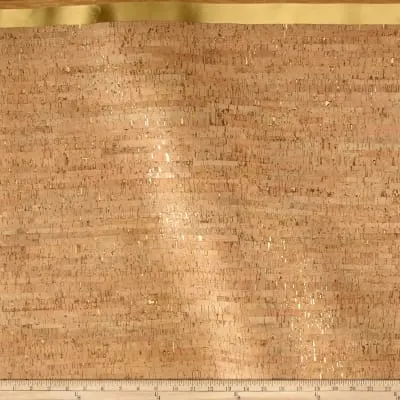
By the way, you can use the pattern to make a purse not only from leather but also from any other fabric you choose. One of my readers, for example, plans to use this pattern to make a purse from cork fabric, and I really like this idea. Maybe I will make it myself also. Are you interested? You can buy it here.
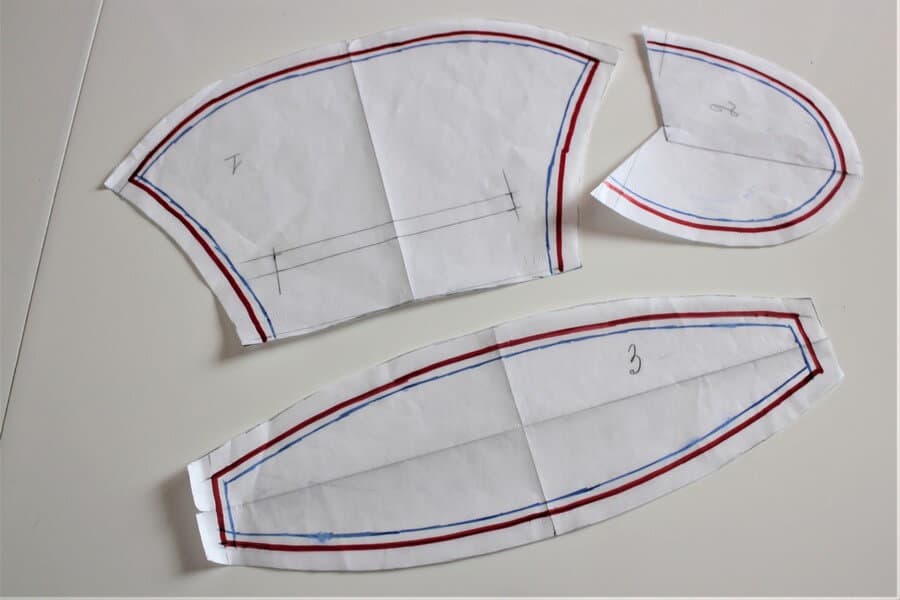
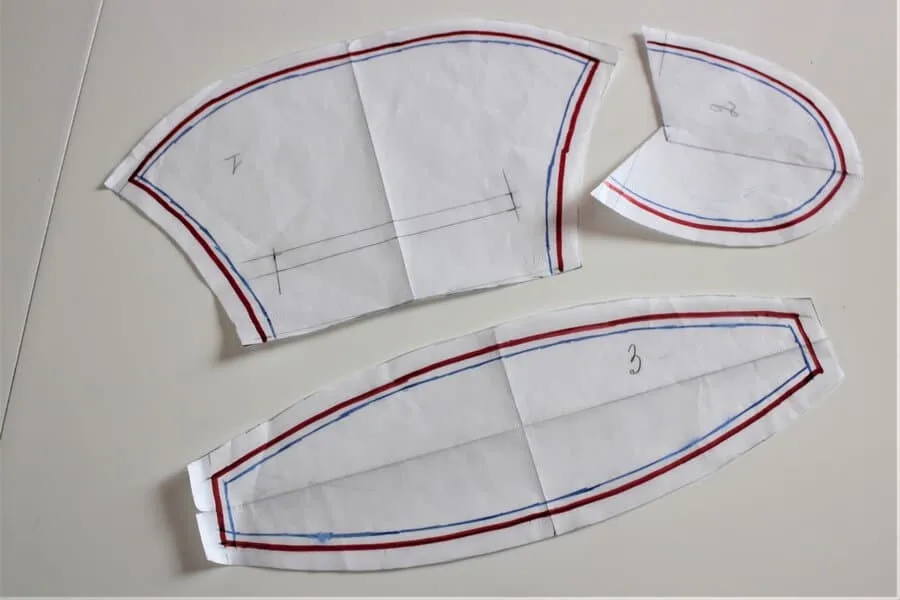
You have to remember that the foam stabilizer pieces have to be 1.5 cm (⅝ in) smaller than the main purse pattern pieces, I cut stabilizer pieces WITHOUT any seam allowances, and the lining has to be 1 cm (⅜ in) smaller than the main pattern (with seam allowances). In this image blue line is for the stabilizer – 1.5 cm smaller than the main purse pattern, and the red line is for the lining – 1 cm smaller than the main pattern.
I used this stabilizer for the purse (I tried something else before but I like this one more): Bosal In-R-Form Unique Sew In Foam Stabilizer (not fusible) – Amazon has it also.

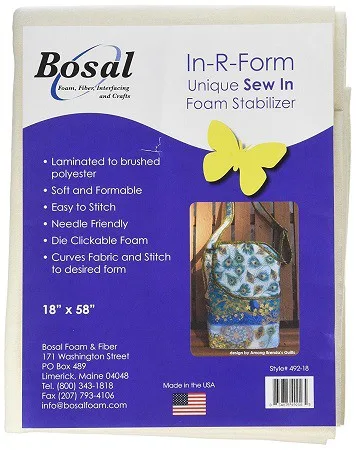
But I am sure there are many other stabilizer options out there! So you may try different kinds, see the result and decide what your preference is. I cut the stabilizer for the purse without seam allowances because I didn’t want the seams to look bulky. I like to eliminate bulk completely because I don’t want my bag to look homemade. So I sewed these seams by hand – it was an easy way to reduce bulk and create a more professional looking purse. For the purpose of this video tutorial, I used green thread so you can see it clearer on the screen. But for your sewing choose a white thread of course to match the color of the stabilizer.

The foam stabilizer gives the lightweight and soft leather a little more body and shape. It’s perfect for smaller bags like this. Insert it into the purse and glue it to the leather using the glue mixture we made in part 1 of this tutorial.
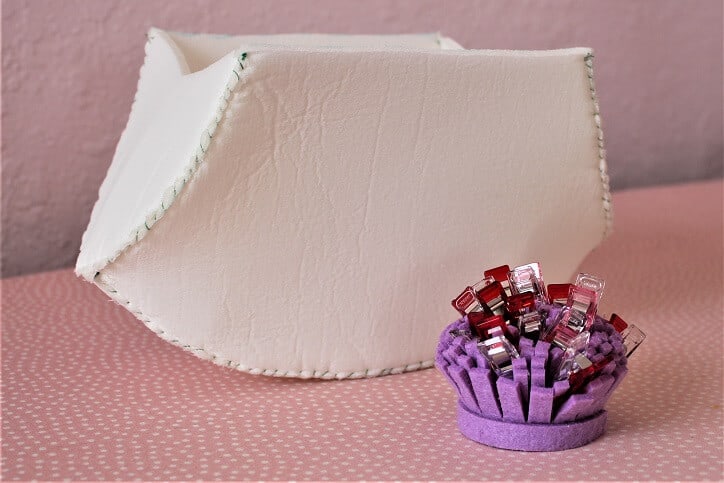
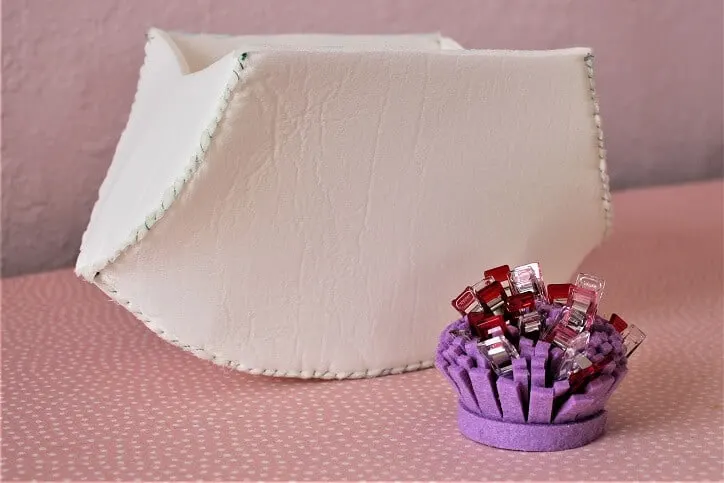
And this is the image of the finished purse lining. But I didn’t film it when I was making the purse so for this tutorial I am going to use a different fabrics for the lining because I want to show you all the necessary details. You see that the lining has a pocket. So let me show you how to sew the pocket.
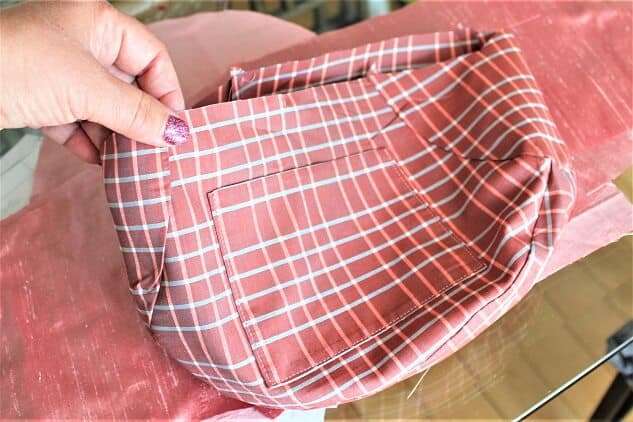

Sew a pocket for the lining. If you are an experienced sewist you may skip this step but my readers asked me to show you how to make patch pockets easily so here it is. Cut 2 pieces of lining fabric for a pocket – 15 x 12 cm (6 x 4 ¾ in) including seam allowances. Pin pocket pieces right sides together and sew them with a straight stitch leaving a small opening for turning.

Trim corners, turn the pocket right side out.

Make the corners look nice with this special point-turner. Baste all sides of the pocket and close the seam opening.

Press and pin the pocket to the lining in place. Edgestitch the side and lower edges of the pocket in place, stitching small triangles in the upper corners.

Stitch the seams of the lining and insert the lining into the purse. Cut some top seams (of the lining and stabilizer) if they are not aligned with the leather seams. Sew all the top seams together by hand – this way it will be easier to insert the purse into the metal frame.

2. Make leather flowers and leaves.
Now let’s make leather flowers and leaves. I used paper pattern pieces of different sizes. The diameter of the biggest flower is about 8 cm ( 3 in) and the diameter of the smallest flower is around 2.5 cm or 1 in. Other flowers are somewhere in between.
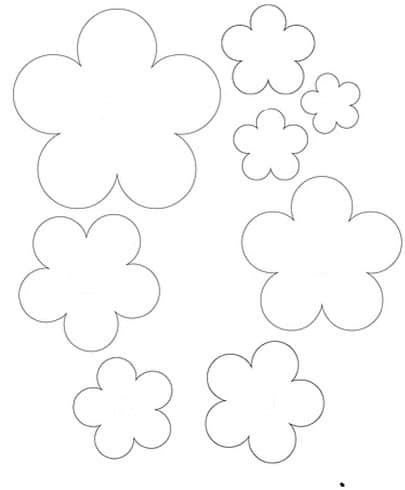

You can download the printable PDF template for the flowers from my Resource Library. If you are a subscriber you can find the password to enter the Library in my weekly emails. If you are not a subscriber you can sign up in the form below and I will send you the password for the Library right away by email.
I cut flowers and leaves with my sharp shears. But if you have a cutting machine like Brother Scan&Cut you can use it for cutting leather. It’s much faster and nicer. I am truly amazed by what this cutting machine can do.

I wanted to make flowers curl. For this I had to fry the leather flowers on a hot skillet (without any oil, of course) – leather is getting a curved form because of the high temperature. Be careful – don’t burn your fingers, use tweezers to get hot leather from the skillet.

Now let’s give some texture to the leaves. Brush some glue mixture (look in part 1 how to make it and what glue to use) on the leaves and let them dry a little bit for a few minutes. After they are almost dry twist them and leave for a few minutes again. When you unfold the leaves they will have some texture resembling real flower leaves. Make a stitch in the middle of each leaf – I use a triple stitch of my sewing machine.


To make a rose center take one bead (around 1 cm in diameter) and cover it first with 4 petals flower (to hide the bead completely) using glue. Then add one more small flower.

Brush every flower with a glue mixture and let them get dry. I didn’t want them to be flat so I used wood balls to give them the proper shape.


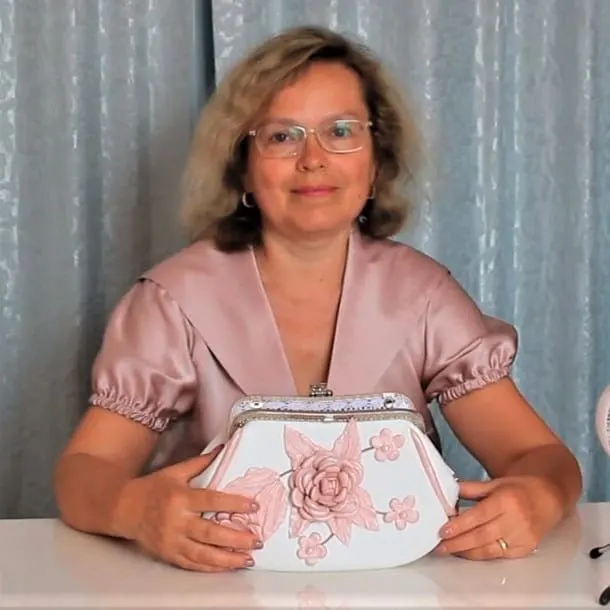
Design your flower embellishment and attach flowers and leaves to the purse with the glue mixture, sew flowers to the purse in the center by hand and add real pearls to the middle of small flowers.
3. Sew the metal frame to the purse.
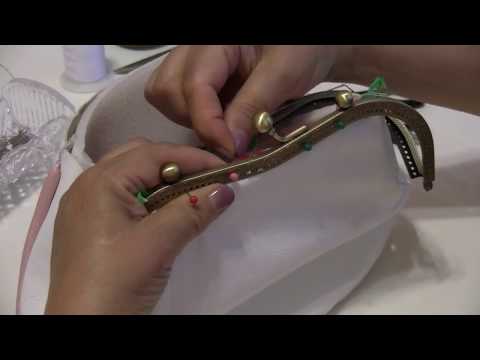
I didn’t film how I put the silver metal frame in my purse. So to make this tutorial I used another frame – a golden one that is very similar to the one I used before. The steps are exactly the same as with my silver frame. Take the frame and find the exact center on each side. It may be not so easy because the holes may be not placed exactly in the center. So for this take a painter’s tape and place small pieces of the tape on each side of the frame, measure the frame and mark the centers with a pen.

Use the tape also to secure the moving parts of the frame so they don’t bother you when you sew the frame to the purse.

Insert the purse into the frame matching centers and pin the frame to the purse in a few places through the holes. I can tell you this is not an easy step – the purse will be going out of the frame all the time. Just be patient and in the end, you will manage — I managed to insert it alright!

Use leather hand sewing needles. They are a little bit different than regular needles and they sew leather very well. You can see in the video below how to hand sew leather. Thread the needle with a silver embroidery floss (so the threads are almost not visible on the silver frame). If your frame is a different color then choose a matching thread for your frame. Start sewing from the center to one side of the purse until you reach the frame’s curve. Go back to the center and to the other side of the purse to the curve and go back to the center. Repeat the same procedure on the other side of the frame.
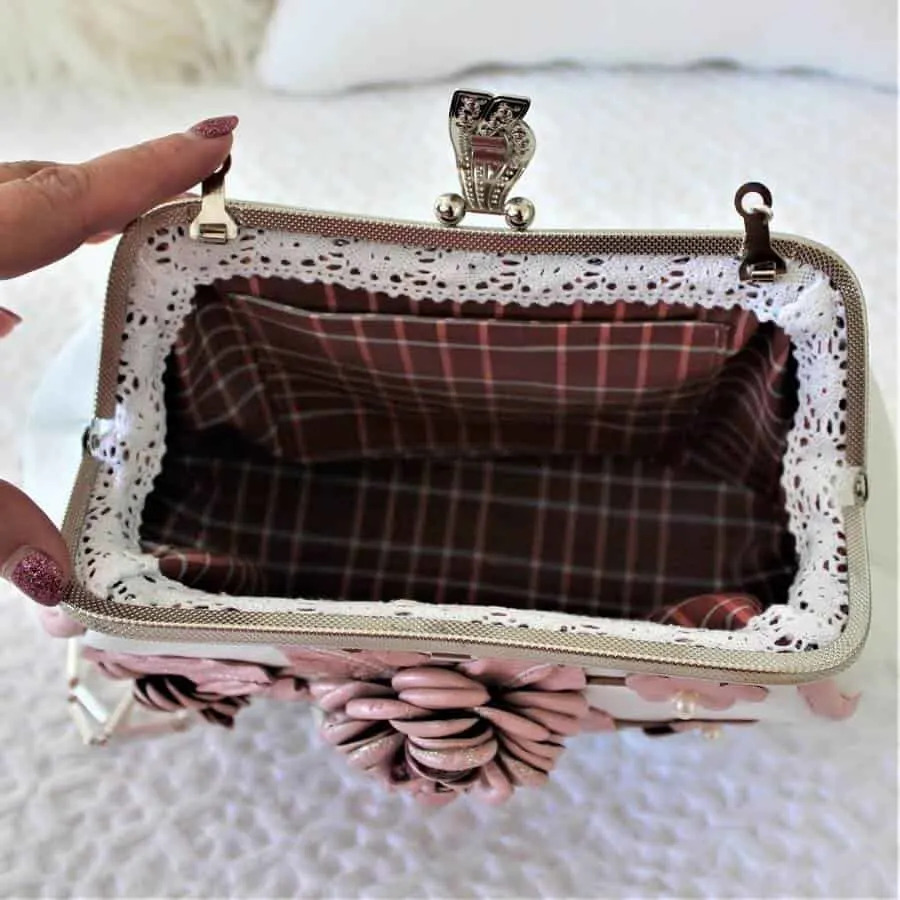
Now your frame is attached to the purse – so it will be easier to sew sides. I decided to hide stitches visible on the inside of the purse with small lace trim – I used the same glue mixture I had for the flowers.

4. Attach a handle.
I bought a necklace that was matching the purse colors and decided to make purse handles from it. I had to change the thread for the necklace (so it will not be broken after a few uses of the purse) – I had to make it stronger. So I used a plastic wire ( like a fishing line string) to make the handle unbreakable. To attach the handles I used so-called lobsters — they are well-polished clasps that are made from rust-resistant stainless steel.

Now the purse is ready and I really like how it turned out. The only problem I see now is the closing. This part of the metal frame makes some small marks on the leather so if you plan to make a purse like this buy a little bit different frame.
Did you ever want to make a leather purse yourself? I always wanted but I thought it will be too complicated. But it turned out nothing could be further from the truth. Sewing leather with a home sewing machine is quite manageable. There I have it. My own leather purse. And you can make it too. Not sure where to buy good quality leather for the purse? Here is the link to an amazing Amazon store Leather Treasure, you can buy very nice skins from them. If you prefer a video tutorial here is the link to my YouTube video about making the leather purse.
===
One of our friends, Nancy Saenen, has made a purse using parts of this pattern. Here is what Nancy says:
I wanted to make a handbag for my mother and I bought a piece of fake leather and a piece of fake buckskin for a good price on the market in Maastricht. I also ordered a metal frame on Wish and then I went looking for a nice pattern for a bag. I already made a toilet bag with a frame of a 2-part pattern but now I was looking for something with more “volume”. It was a difficult search until I ended up at your tutorial. I found the bag a bit on the small side so I made the pattern a bit larger, I also found the piping and the flowers a bit difficult so I skipped all that. I also made an inner pocket with a zipper and one with a frown. So a lot of adjustments, but I am very happy with the result.

===
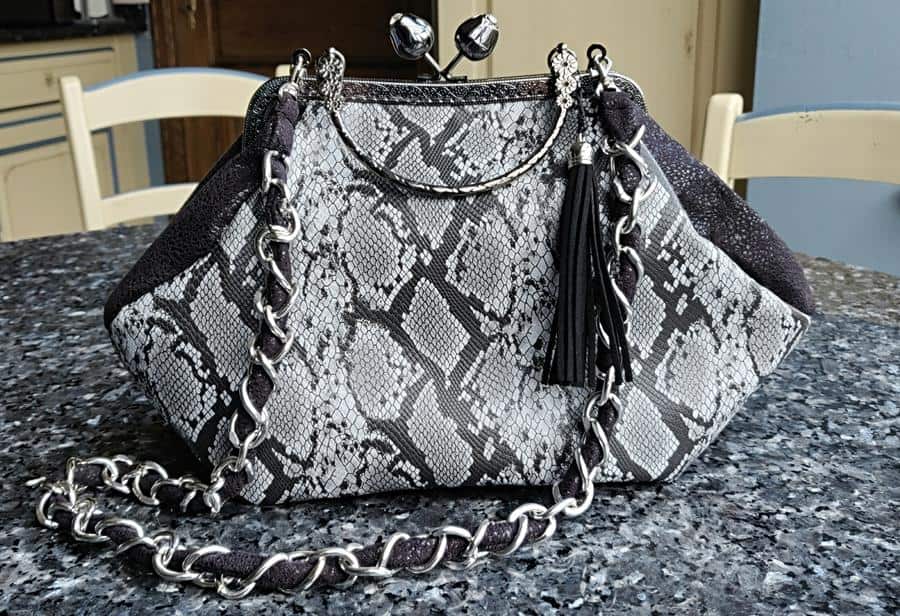
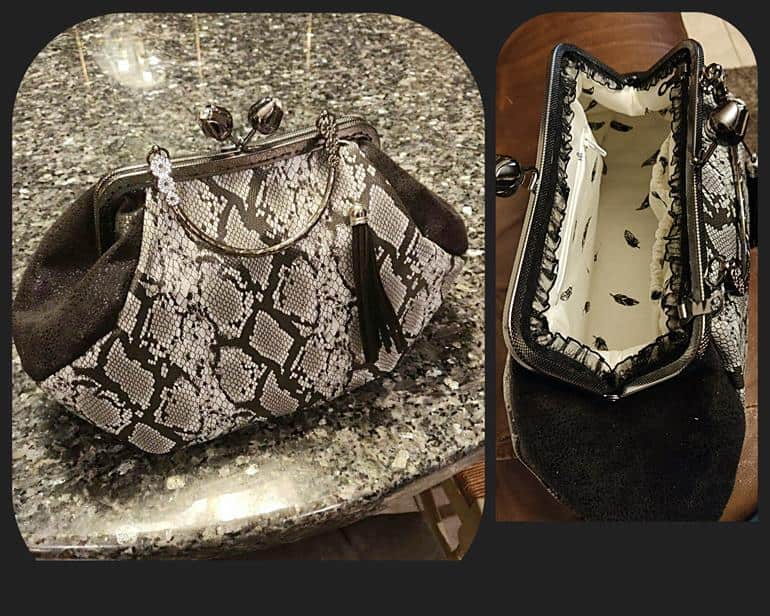
I think we all agree that the bag turned out very, very nice: Congratulations, Nancy!
===
Did you find this tutorial helpful? It took quite a while for me to put it together, so I would be incredibly grateful if you will share it on Facebook or Pinterest. It will help my Ageberry site grow. If you have any questions about how to make a leather purse I will be more than happy to try and answer them in the comments below.
latest posts
- Ever Tried This on Your Serger? This Differential Feed Feature Will Amaze You
- Ditch My Sewing Machine? Not in This Lifetime!
- Adorable DIY Needle Book | Easy Tutorial for Beginners
- Master the Seam Ripper: Your Ultimate Guide to Precision Stitch Removal
- Think You Know Zippers? This Installation Guide Might Surprise You
- Why Does Your Seam Ripper Have a Red Ball? Discover Its Purpose!
- Topstitching Troubles? This Simple Trick Will Turn It Around Instantly!
- How to Sew Shirring: A Step-by-Step Guide to Elastic Thread Gathering
- Are Self-Threading Needles Really Useful?
