
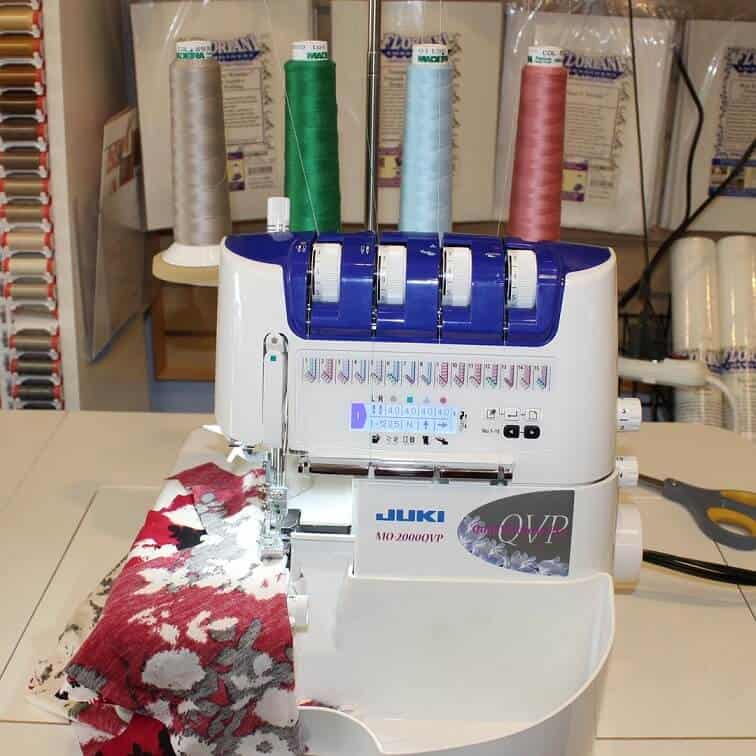
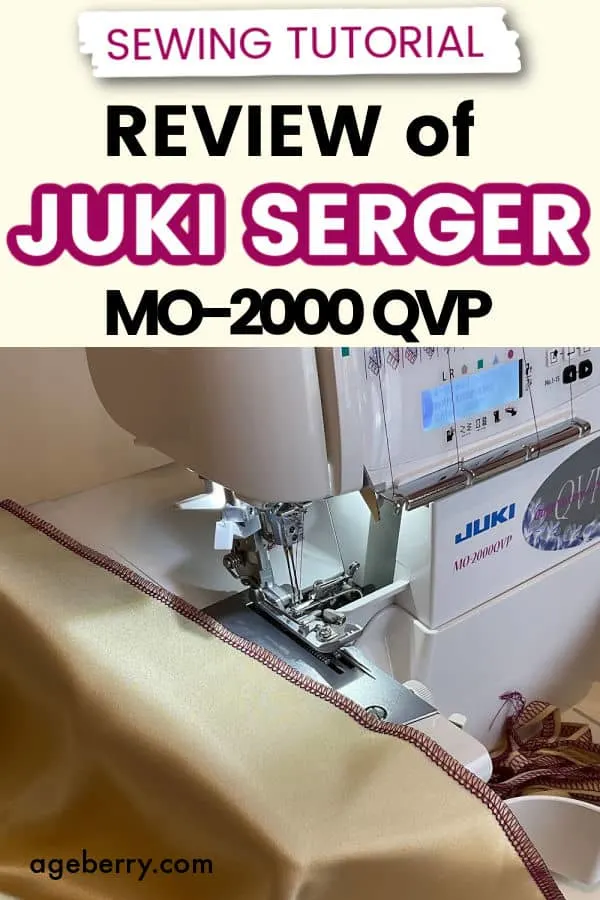
This article is a detailed review of JUKI serger MO-2000 QVP.
Sewing in the modern world is so much different than 30-50 years ago. Innovative technology constantly brings new ways to our creative lives. When I started to sew I didn’t even know the word “serger” (funny that Google doesn’t know it even now) and learned to finish raw edges by hand or by zigzag stitches.
Now I have changed 3 sergers already and I am looking to buy another one. Technology is changing rapidly and every day there are new techniques and gadgets to learn and use. So, this is a review of JUKI serger MO-2000 QVP.

✅ Related tutorial: Serger vs. sewing machine
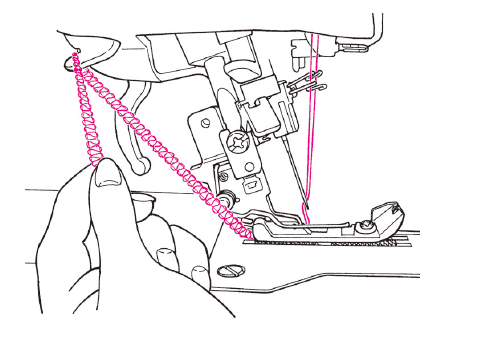
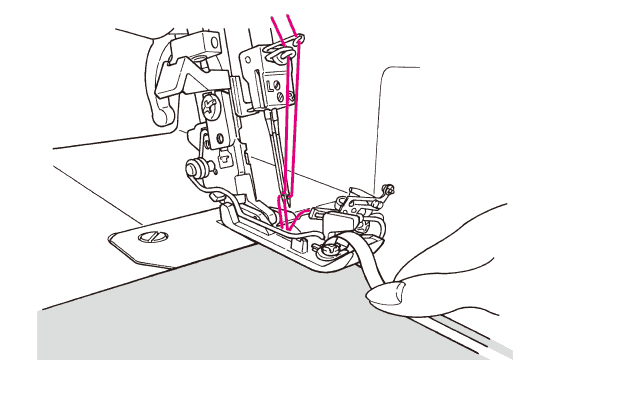
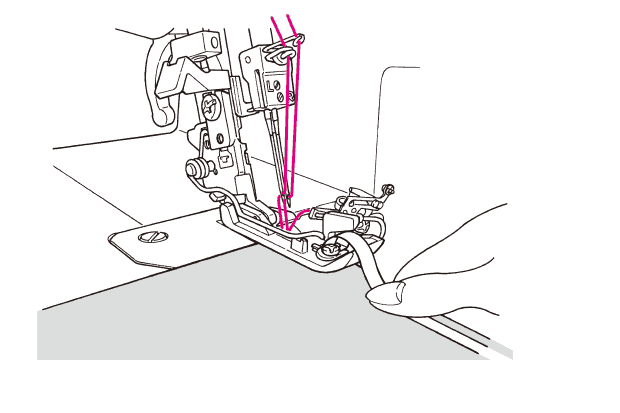
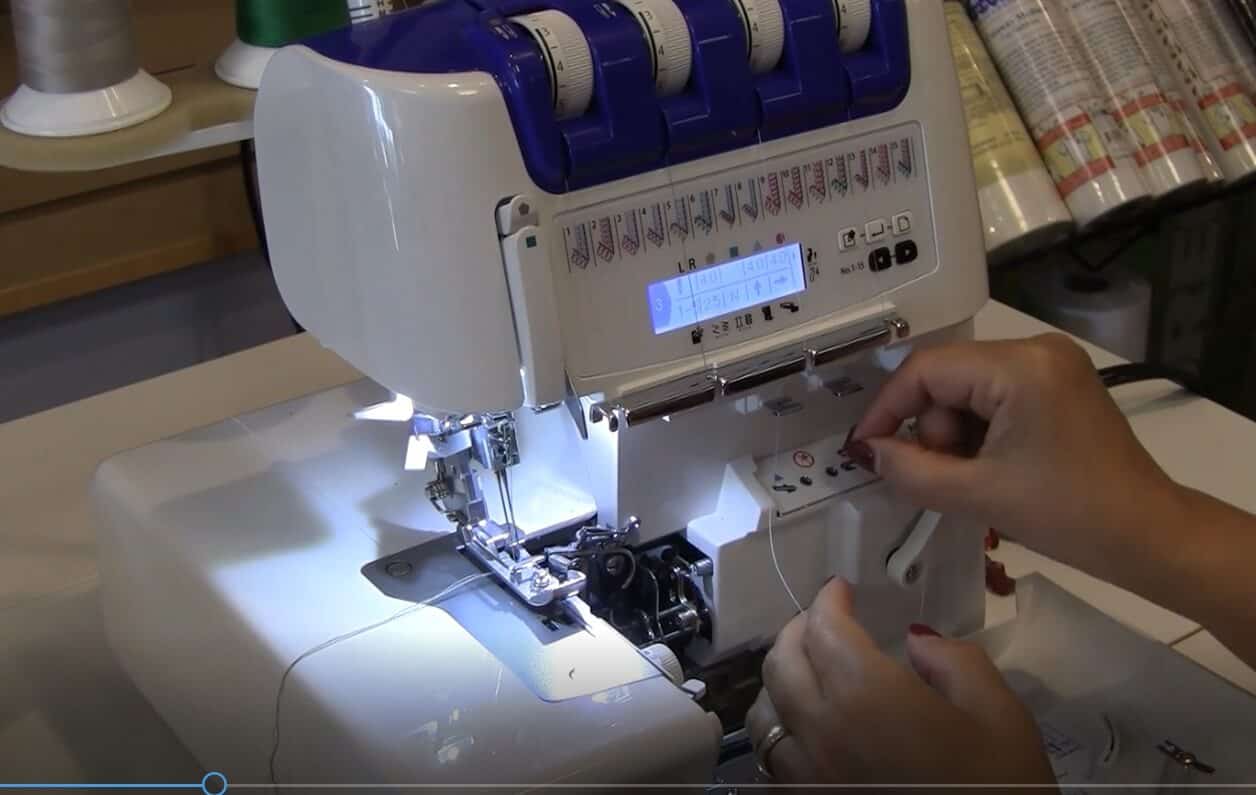
First of all, it has an amazing threading feature – so-called Air Threading. You just put upper and lower looper threads in small threading holes – and a strong whoosh of air from a motor will bring threads right to the needle plate. Of course, you need to push a button for this. But it couldn’t be easier, really. It works well with regular polyester and cotton threads, and it works well with Eloflex – an innovative stretchable thread from Coats. Very convenient! No more fear or frustration when changing threads.
I heard from many people that it’s too complicated to change threads in upper and lower looper on sergers without this feature. Some even never changed the threads just to avoid the procedure and because of this didn’t use their serger to its full potential. If you have an old serger you understand what a nightmare it is sometimes to thread loopers.
✅ Related tutorial: The Self-Threading Serger – Yes, it Exists!
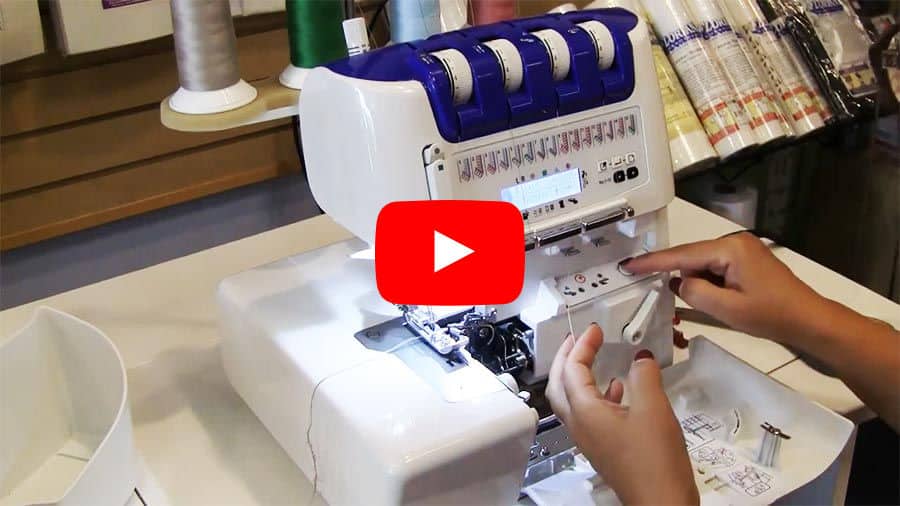

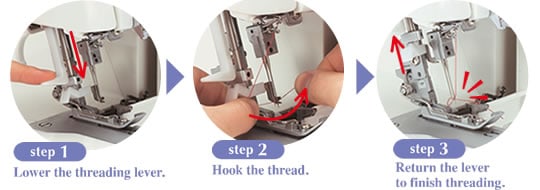
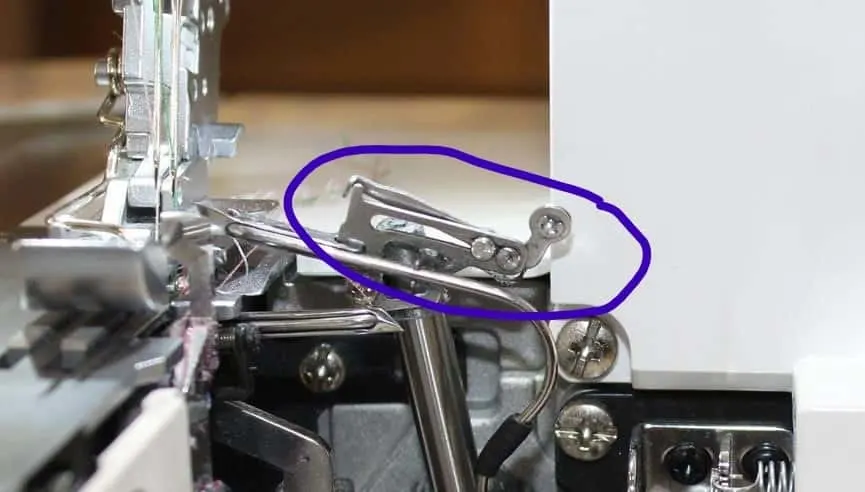
Second, JUKI has an auto-threader for both needles – a device for helping to put threads through the eye of a needle! I tested it. It works wonderfully. None of my previous sergers had this feature, even if they were from very high-end, well-known sewing machine companies – Singer, Brother, and Janome.


The Juki MO 2000 serger can be threaded in any sequence!
I love this feature.
With my previous sergers I had to re-thread in the exact given order: upper looper, lower looper, right needle, left needle. I have almost never been able to cheat this threading sequence. When I tried to replace only one broken looper thread I never managed to get the serger to work properly. And it was really hard to remember the sequence without going to the manual.
With Juki I don’t have this problem anymore. The thread is broken? No big deal. I can re-thread the machine fast and easy. So no more worries about the threading order.
✅Related tutorial: Types of Sewing Machine Stitches: Unraveling the Mysteries of the Straight Stitch
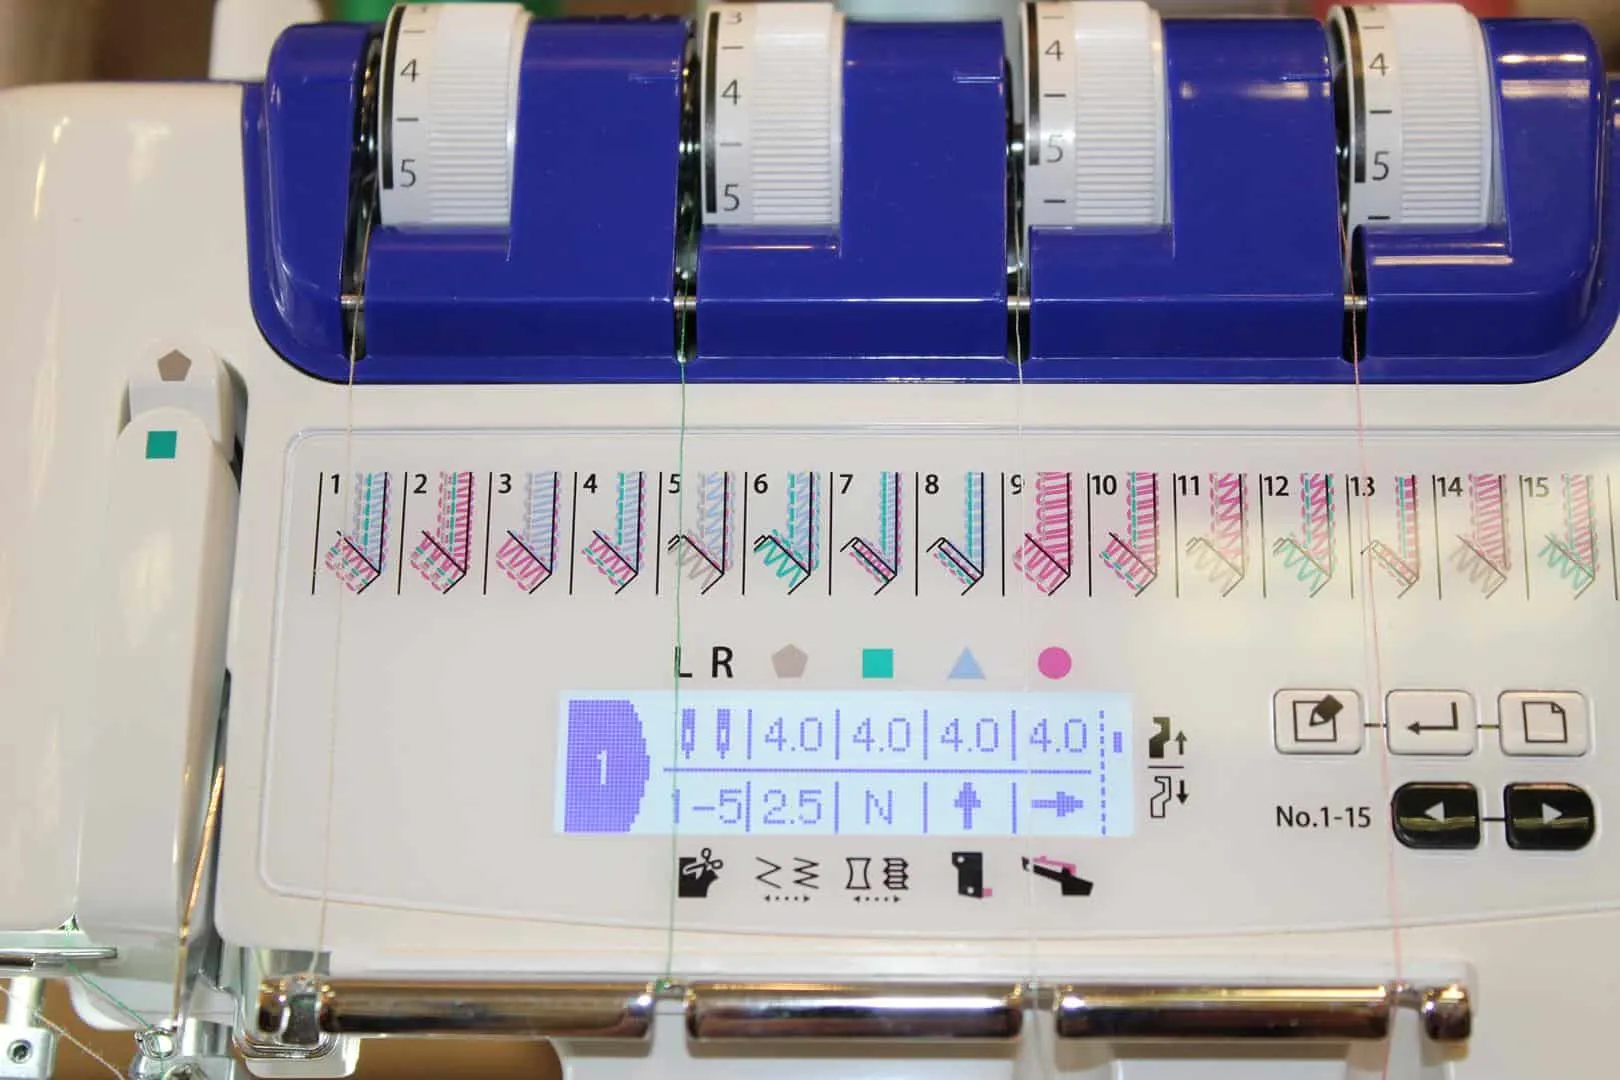
Another great feature (and quite unusual to me in sergers) – is the LCD Screen with a lot of necessary information about tension, stitch length, differential feed settings, and the position of needles, knives, and loopers. I don’t need to search through pages and pages of my manual what settings are necessary for the chosen type of stitching. I simply glance on the Screen and see clear instructions for 15 different stitches.
I noticed with my previous sergers that the more stitch types a serger offers the more complicated it is to use. Not the same with Juki. I just press the button, choose a stitch – and all the settings can be found on the LCD Screen! What is the recommended tension? It is on the Screen. Do I use an upper knife? It is on the Screen. What is the stitch length? It is also here. As well as many other necessary instructions for the stitch I choose.

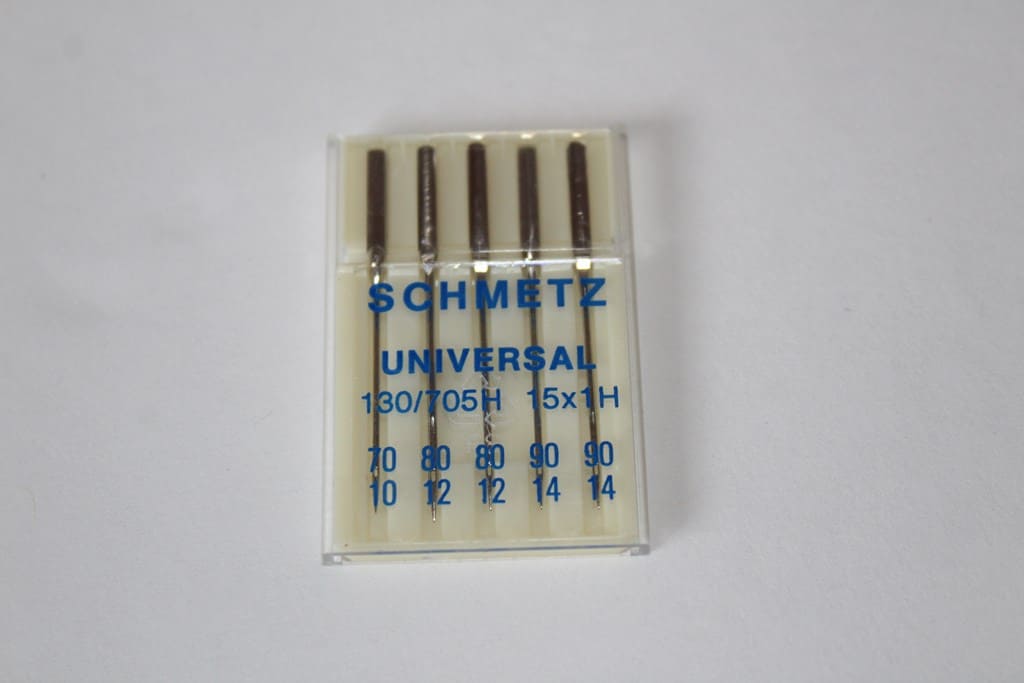
Next wonder – I can use just regular sewing machine needles! Universal or stretch or ballpoint. I don’t need to buy special serger needles anymore.
The Juki serger has a two-step presser foot lifter with an integrated front foot lift. To raise the presser foot I lift the presser foot lever on the rear of the machine until it engages. And I can raise it again to the maximum height and hold it in this position to provide more space between the presser foot and stitch plate. It is a very nice feature for sewing thicker fabric.
A few words about the tension. I don’t need to put it to 0 when changing threads! When the presser foot is raised, all the tensions are released making it easier to thread the machine.
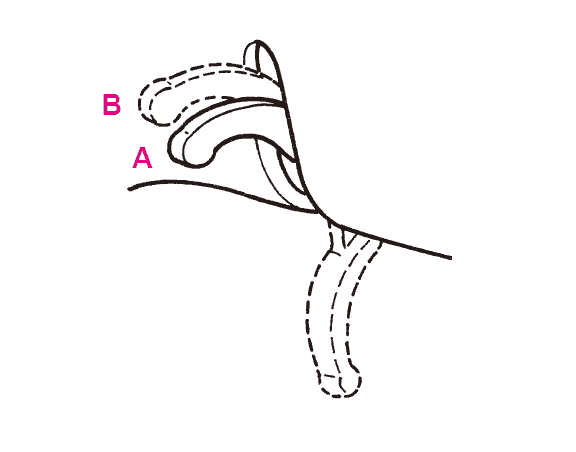
The presser foot has clear marks on it to use as a guide when placing the fabric under the presser foot. I have some marks on the presser foot for the left and right needle position on my Janome serger but Juki has also a mark for a knife position that represents the position at which the fabric is cut.
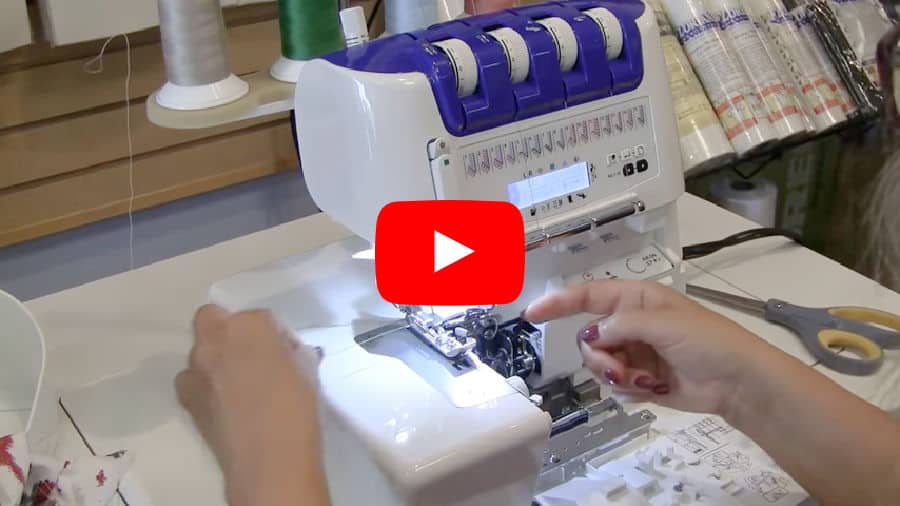
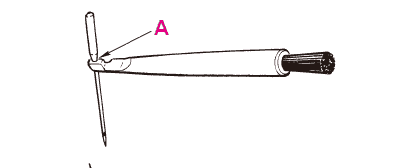
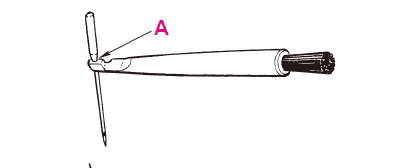
Juki has a very practical small tool – a needle inserter. Needles can be inserted quickly and easily.
I can easily regulate cutting width. The position of the lower knife determines the width of the seam. If the edges of fine fabric curl up when being sewn I reduce the cutting width. If the loops seem to be too loose I increase the cutting width. And it has 5 settings
- 1 = 3–5 mm seam width
- 2 = 4–6 mm seam width
- 3 = 5–7 mm seam width
- 4 = 6–8 mm seam width
- 5 = 7–9 mm seam width
A very nice feature of Juki serger is its differential feed. Other sergers have it also though. There are two feed dogs – one front and one rear. The two feed dogs move independently and the distance each feed dog travels during one complete movement can be adjusted. The differential feed prevents fluting or waving in knits or stretch fabrics and movements between the layers of fabric. It also ensures pucker-free seams in smooth fabric such as nylon or closely woven fabric.
The differential feed can be adjusted by simply turning the differential feed adjustment dial in the direction desired. The differential feed is infinitely variable and can be adjusted while sewing. Using the differential feed, I can gather a single layer of fabric before sewing it to the garment, for example, sleeve heads and lower edges, yokes, lace edging, or frills.
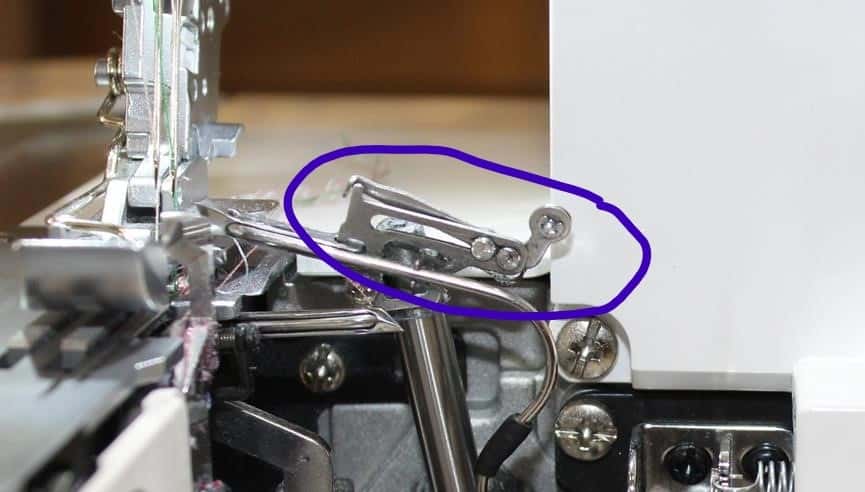
There is a small part that is very convenient – Upper Looper Converter 2-/3- Thread Conversion.
I can switch to 2-thread stitches just by pushing this attachment to the left. I don’t need to cut the thread from the upper looper, I just move this attachment to the left, and the upper looper thread is not fed and the lower looper thread is fed to form 2-thread stitches.
Another detail that I didn’t see in other sergers – is a thread trimming blade for easy thread cutting. It is useful when removing the fabric after raising the presser foot at the end of sewing.

A standard presser foot of Juki serger is equipped with a tape guide! For example, the tape can be sewn into the shoulder and side seams of garments to prevent the stretching of very stretchy knits and spandex.
The serger has a LED Sewing Light so the sewing area is brightly illuminated. The light is energy-efficient and eco-friendly and will not heat up even after a long period of use.

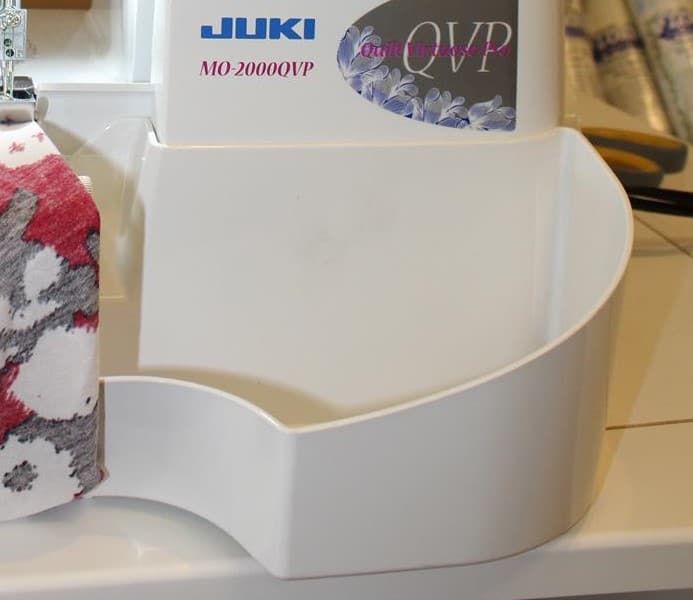
There is a Waste Collector container that catches cut-off fabric and keeps the working area clean.
The lower and upper knives provide the greatest, most robust cutting force even for thick fabric so all fabric edges can be trimmed professionally. There is an option to deactivate the upper knife to carry out sewing without cutting the fabric.
The serger operates amazingly smooth and quiet.
Juki has a wider working area so the usability of the work space improved infinitely.
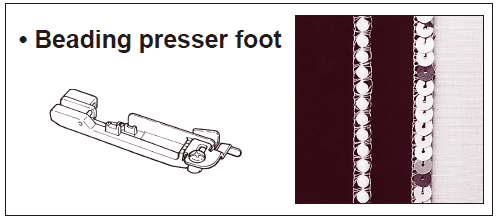
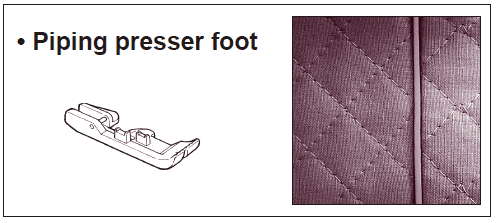
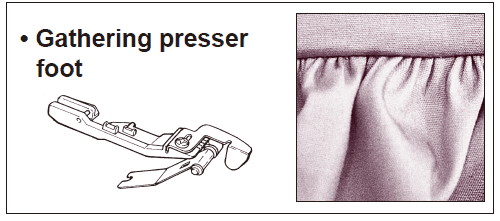
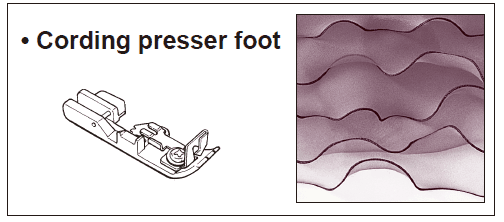
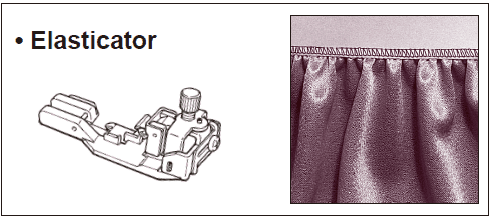
Juki MO 2000 serger has some optional presser feet you can buy separately.
With Juki serger, you can master basic serger stitches (like finishing raw edges and at the same time trimming and stitching the seams) and learn advanced techniques to embellish clothes or home decorating projects. It has 15 different types of stitches. All seams made with the serger are stretchable, so you can sew knits, jerseys, spandex, and lace quickly and durably.
I can show you now a few types of stitches I made. All of them look very nice and I am really pleased with how they turned out.
The first setting on the machine is 4 thread overlock stitch with an integrated safety seam. It looks like 3 thread overlock stitch but a second needle thread is added to make seams more secure. The needle threads form straight stitches for stretchy and durable seams. This is an ideal stitch for sewing knits.

3 thread super-stretch overlock stitch is most common for edge finishing. The machine produced very neat beautifully balanced stitches and cut the fabric perfectly. The stitch formation was perfect because both loopers threads meat at the fabric edge. All three treads moved easily and without resistance. The edge of the fabric didn’t curl up or pucker.

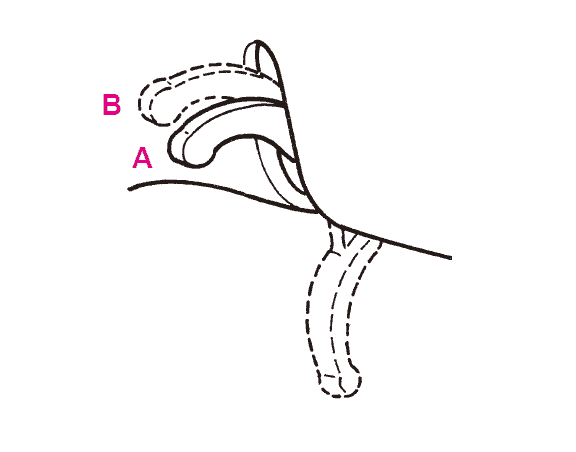
The other stitch I want to show you is the rolled hem, and this serger sews a beautiful rolled hem. You just need to remove the left needle and turn a couple of knobs which is very fast. I like to use this stitch, especially for hemming chiffon garments. I don’t need to change either the stitch plate or the presser foot. The roll hemmer is fully integrated into the machine – I simply flip the special switch. The edge of the fabric will be rolled over in a flash. The machine produces a very narrow, fine seam or hem. The Juki serger provides a neat, attractive finish for a variety of fabrics from medium-weight cotton to weightless chiffon.

I hope my hands-on experience with the Juki serger will be useful for my readers; for me, it was a pleasure to use the machine. Is it worth the price? My answer is if you can afford it, yes, Juki is not a cheap machine but to me, it is worth every penny. You will get everything you pay for and then probably some. And if we compare this serger with other high-end air threading sergers (like Baby Lock sergers) the price does not even look very high anymore.
Where to buy this Juki serger?
Note: Some of the links on this page are affiliate links. This means I will receive a commission if you order a product through one of my links. I only recommend products I believe in and use myself.

Juki MO-2000QVP Automatic Overlock
This online store Sewing machines plus also sells this model.
Or you can find an Authorized Retailer near you if you want to test it yourself.
Did you find this tutorial helpful? If so, save this pin (see below) on your sewing board so you can come to this tutorial later when you need it, and follow me on Pinterest for more tips, tutorials, and inspiration!

latest posts
- Adorable DIY Needle Book | Easy Tutorial for Beginners
- Master the Seam Ripper: Your Ultimate Guide to Precision Stitch Removal
- Think You Know Zippers? This Installation Guide Might Surprise You
- Why Does Your Seam Ripper Have a Red Ball? Discover Its Purpose!
- Topstitching Troubles? This Simple Trick Will Turn It Around Instantly!
- How to Sew Shirring: A Step-by-Step Guide to Elastic Thread Gathering
- Are Self-Threading Needles Really Useful?
- Amazon Spring Sale: Best Choices
- Elevate Your Prom Look: A Guide to 10 Neckline Choices (2024)
