
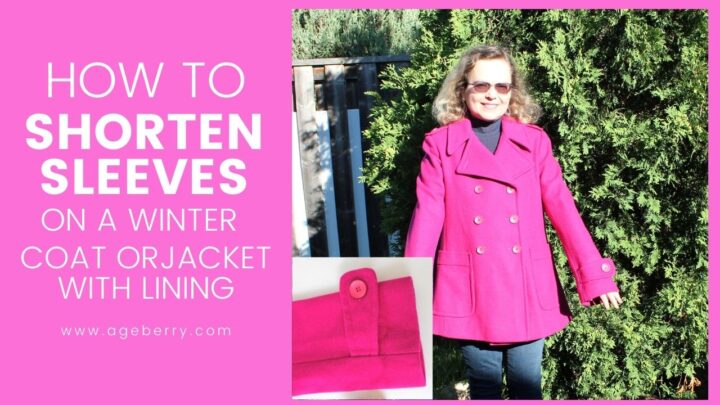
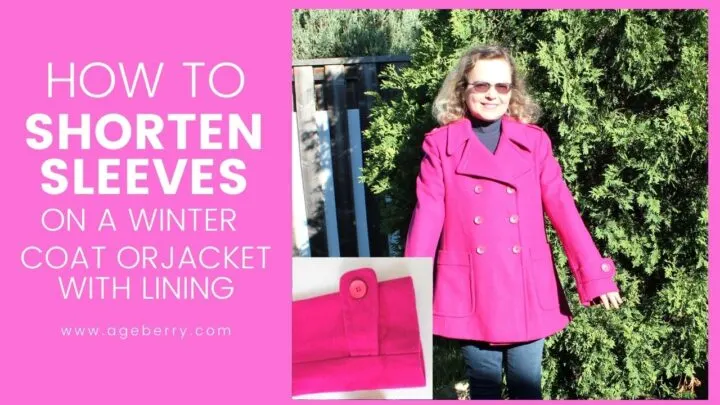
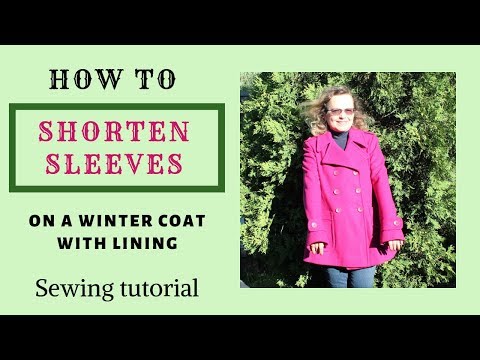
In this video sewing tutorial, I want to show you how to shorten sleeves on a winter coat or jacket with lining but you can use this method for any sleeve that’s lined.
And also, if you are making a coat or a jacket and want to know how to sew lining this tutorial will be useful for you. Because the process is almost the same if you are altering the sleeves of a lined coat or if you are just sewing lining to a new coat you are making.
Attention! If you like the video format, at the bottom of this post, look for a YouTube video version where there is a step-by-step tutorial on how to shorten sleeves on a winter coat or jacket with lining. For a more complete picture, I recommend exploring both versions.
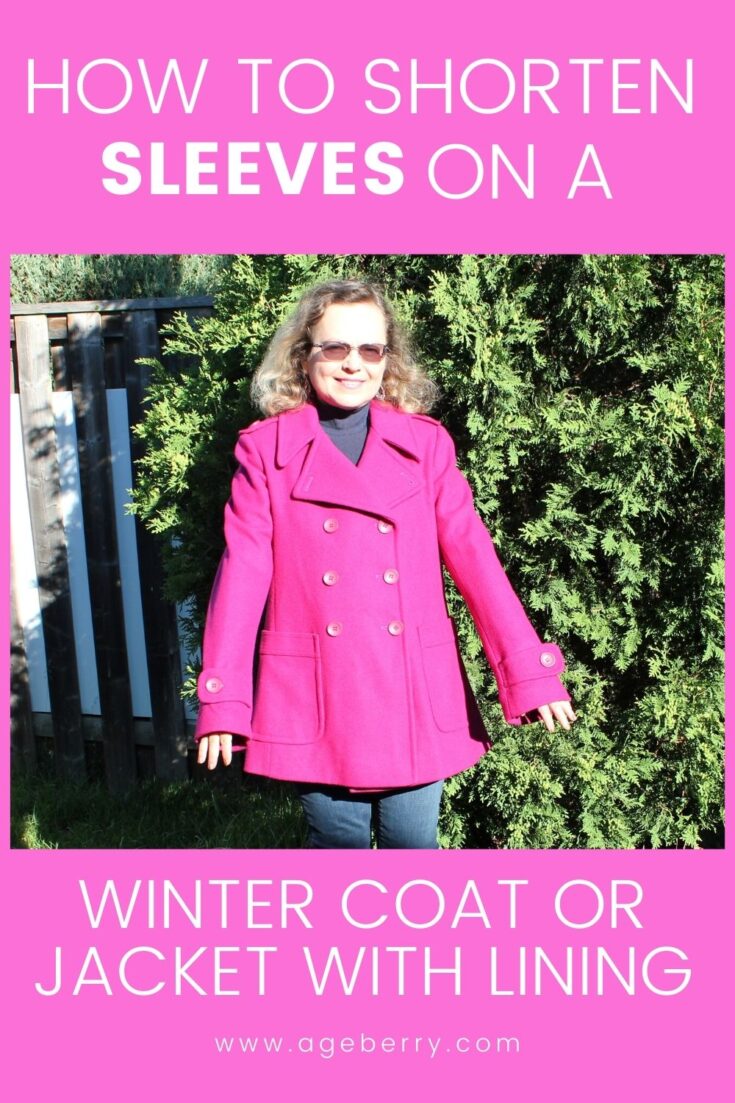
So, here is me in this coat before I did the sleeve alterations. Obviously, I can’t wear a coat like this. Somehow store-bought coats never have sleeves that are the right length for me. They always have to be shortened.

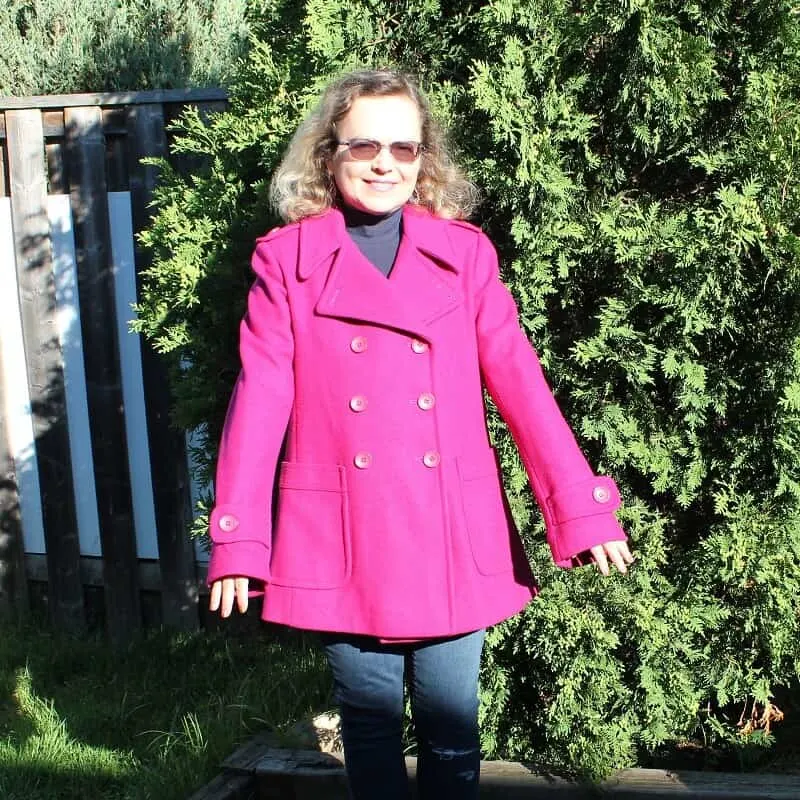
I don’t usually buy coats and jackets, I make them myself, and you can find what coats I made in this post if you are interested. The coat I am using for this tutorial belonged to my mother-in-law but she never wore it (I still had the tag attached) maybe because the sleeves were too long. But I like the coat – the fabric is 100% wool and the color is nice.
And it’s actually not only cheaper to do the alterations but it’s also faster: imagine you have to find a store that makes alterations, and it’s usually a dry cleaning facility, you have to drive there, wait a few days and drive back to pick it up. Are they going to do a good job? You never know. And who knows where they will put your brand new coat – but it will certainly be not alone but with other people’s clothes. Not all the garments in there are clean.
If you make it yourself – you will be done in 30-40 minutes (of course, you need to have a sewing machine and some sewing skills).
So, here is the step-by-step tutorial on how to shorten coat or jacket sleeves. I think it’s better to see how it’s done than to read about it but if somehow you don’t understand my speech (English is not my first language) you can always return to the blog article and read it.
Note: Some of the links on this page are affiliate links. This means I will receive a commission if you order a product through one of my links. I only recommend products I believe in and use myself.
What you’ll need to shorten sleeves on your coat or jacket with lining
Seam ripper – I have a “Magic eraser” seam ripper (do you know what it is?)
Sewing scissors that are good for heavyweight fabric
Matching thread (it has to match the coat’s color)
Sewing machine
Ruler (or measuring tape)
Pins
Needles
Step-by-step tutorial on shortening coat sleeves
1. Try it on, and see how much you need to cut. Simply fold the sleeves at the desired length and mark the new folded line with a pin. Check the new length when the arm is bent. Also, the coat should be buttoned up. Always measure twice because you can only cut once and there is no way to uncut it.

What if you need to shorten pants? Refer to my articles How Long Should Pants Be? A Comprehensive Guide to Hemming Pants and How To Easily Hem Pants Without Sewing
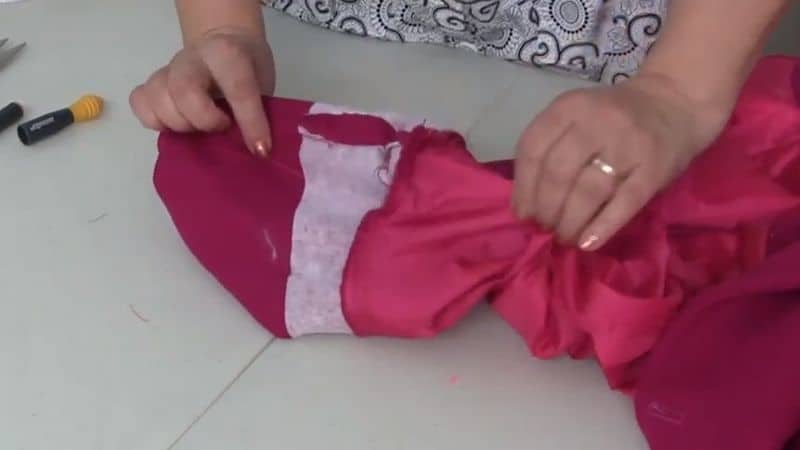
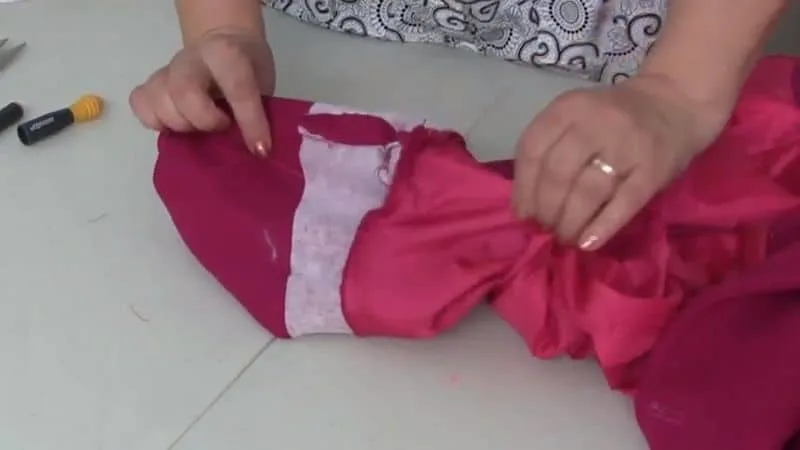
2. Turn the sleeve lining side out. Look at the side seams. Usually, manufacturers leave an opening in one of the sleeve’s side seams for turning the coat’s right side out. Find that side seam where was the opening (well, there are only 2 sleeves, so it’s easy to find).
Rip the seam. Be careful – the lining fabric is usually thin so it’s quite easy to make a hole in it while ripping seams. Check out my tutorial on how to use a seam ripper. Keep the opening large enough so you can turn the whole coat through it.
Once the stitch has been removed turn the sleeve wrong side out through this side seam opening. You can turn the other sleeve also through the opening later.
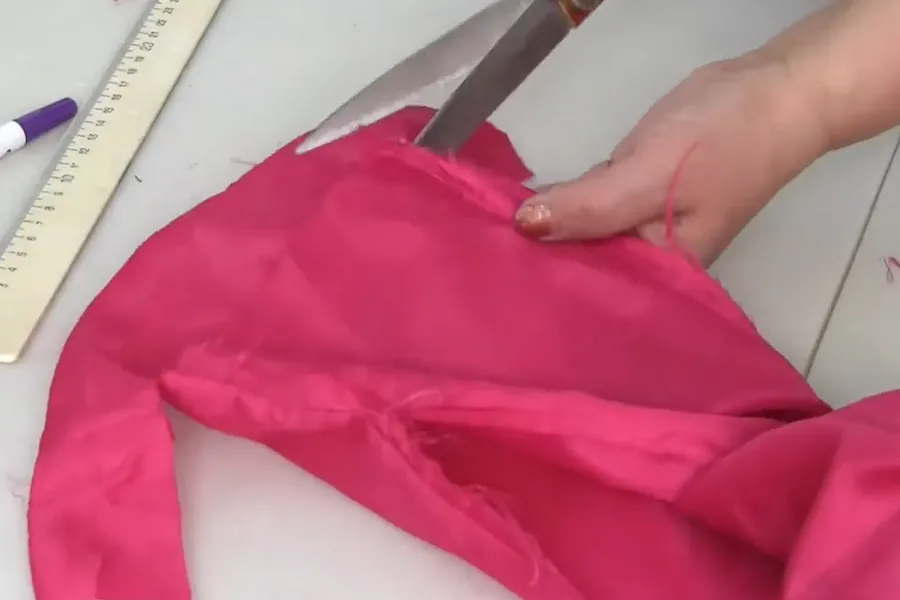
3. Now you can see what is inside. The manufacturer usually stitches together the sleeve and facing seams as you can see in the image below. Rip this too.
You can see now how the lining is stitched to the sleeve. So it’s best to use the same finishing method as was used by the manufacturer. Lots of ripping. In my case, I had to remove also the sleeve tab with a button.
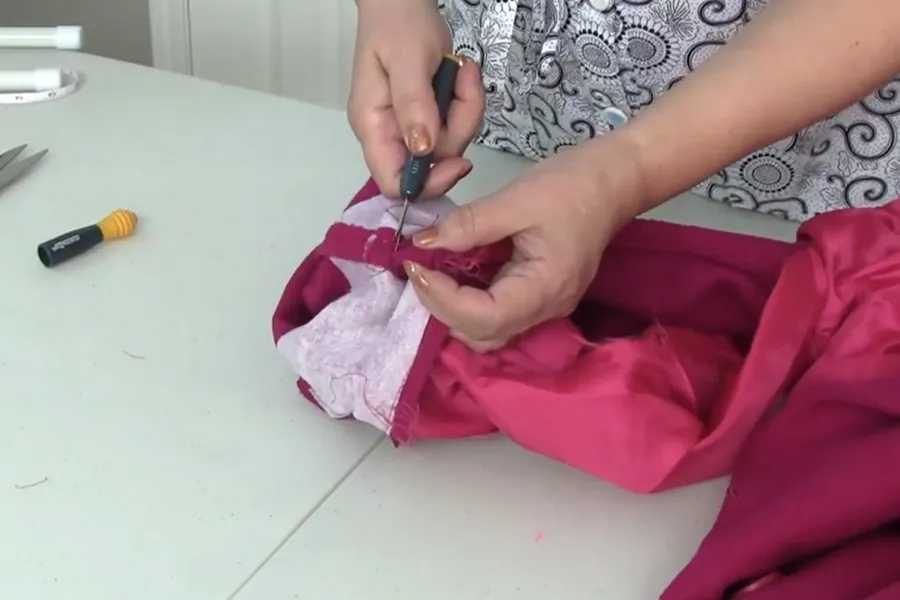
Now we have two separate sleeves – one from the main fabric and another one from the lining.
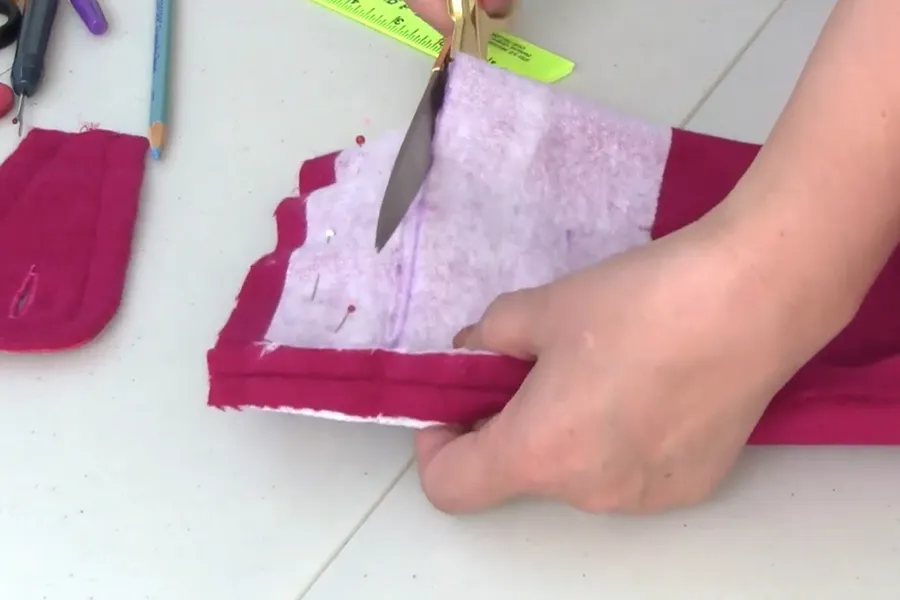
You have to cut it now. How much to cut? We marked the new folding line in the beginning – and we now have the pin there that mark the new folding line. But we need to have the same seam allowances as we had before. To measure this distance and find out how much you have to cut from the bottom of the sleeve. I used the fold line left from the previous fold to measure.
Mark the horizontal cutting line. To do the cutting faster pin the sleeve edges together, mark a straight line which is the cutting line, and cut using sharp sewing scissors. The coat fabric is thick so regular scissors are not going to cut it.
If you had a tab it’s time to sew it now at the new length.
4. After I stitched the side seam of the sleeves I have to cut the same amount from the lining.
Now comes the tricky part. How do we connect those sleeves from the main fabric and from the lining? First of all, turn the sleeve the way it should be. Align the sleeve side seams – they are two in this case (and in most cases also).
Now put your hand through the opening, match the lining and the sleeve at one side seam, then hold them together and pulling them through the opening in the lining turn the sleeve inside out again. Pin them together.
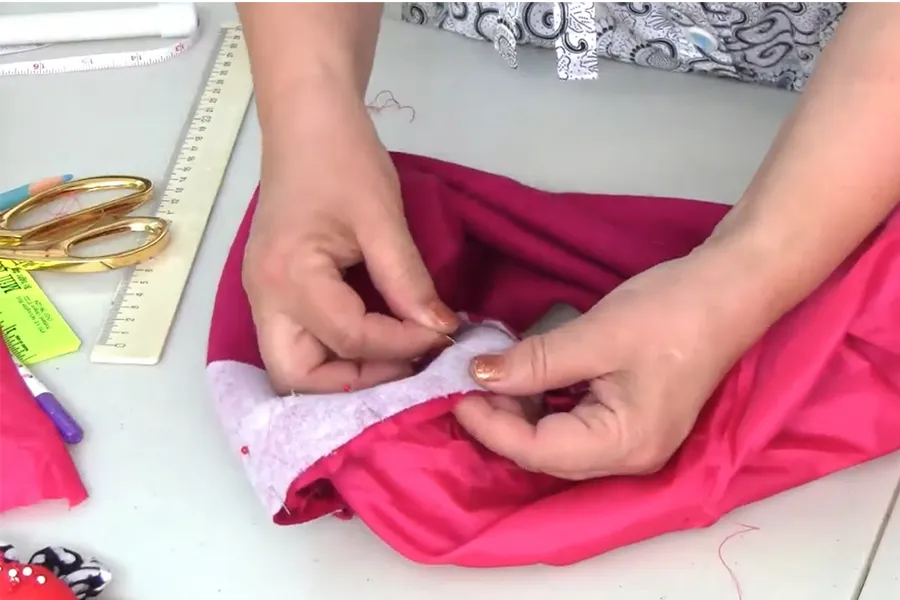
You have connected two seams together at one point, now line up the raw edges of the coat and the lining and continue pinning all around. I prefer to make a stitch on the main fabric side. As you can see, I put lots of pins, but it may help to baste them together because the lining fabric is usually slippery.
✅ Related tutorial: Types of sewing pins and their uses: all you need to know about straight pins for sewing
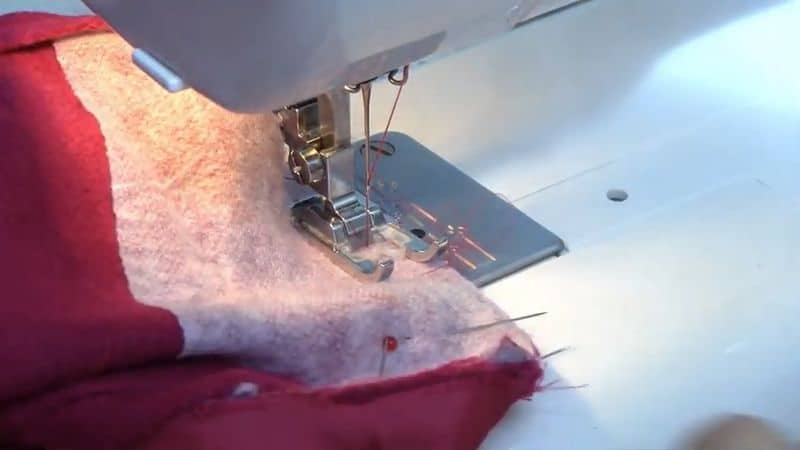
5. So, I have pinned together the sleeve and the lining and now it’s the time to stitch it.
Stitch using matching color thread. Seam allowances are 1 cm or ⅜ in. Choose the correct needle for your sewing machine and for the fabric. Choose the correct stitch length – it shouldn’t be too small, I made mine 3 mm.
✅ Related tutorial: What is the stitch length and how to adjust it for different fabrics
Go slowly, and try to keep an equal distance from the edge – the distance is ⅜ in or 1 cm. It’s not very comfortable to sew. You should stop frequently. I am used to sewing over pins – but they are really thin, for lightweight silk chiffon, and my sewing machine doesn’t even notice them.
I was taught to sew like this but they say it’s dangerous because if the needle hits the pin, it can go straight to your eye. So be careful and take the pins out as you sew closer to them.

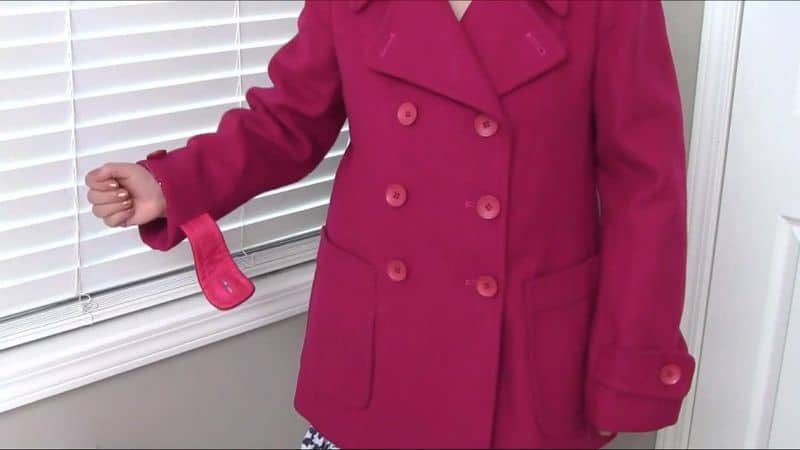
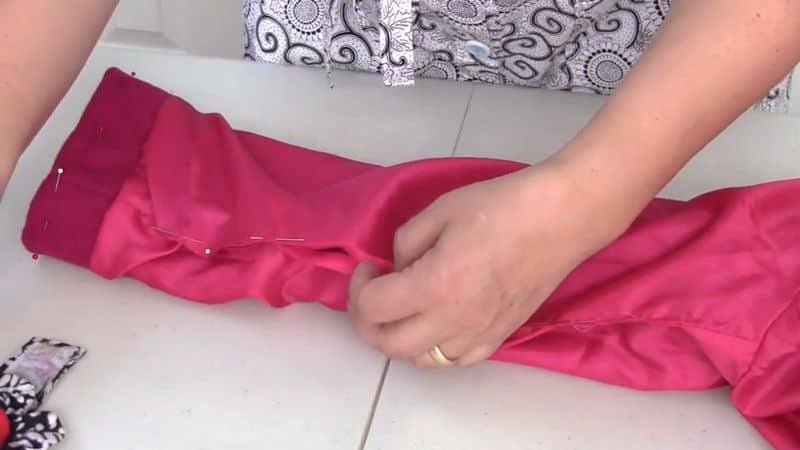
6. After stitching, arrange the sleeve and the lining.
It’s better to turn the sleeve on the right side and try the coat on. Carefully make a new folding line and press using the correct settings of your iron – it’s WOOL in my case. You have to make a new permanent fold.
You will notice that the lining sleeve is a bit longer so it can be folded over the stitching line. This overlap would affect how the sleeve hangs and would allow some ease of movement. The lining shouldn’t pull the sleeve bottom part.


7. Do the same with the other sleeve – you can work with it through the same opening. You have to make sure that both sleeves are cut the same and remain identical in length.
Machine-stitch the lining’s side-seam opening closed. Or you can do it by hand sewing also.

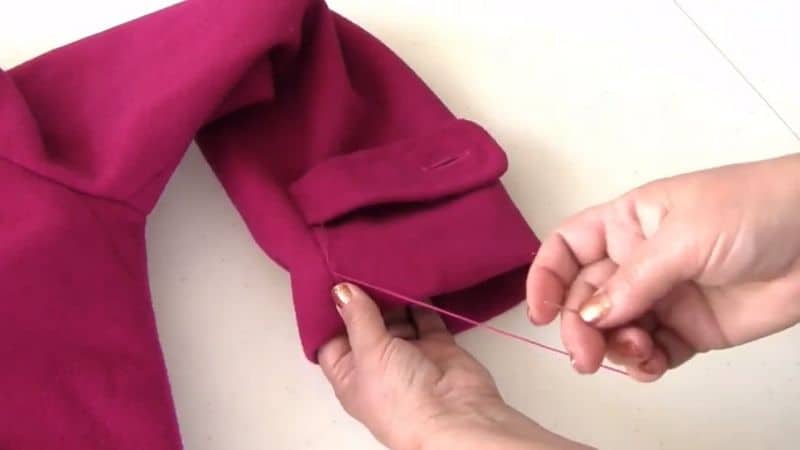
8. Now you have to secure the sleeve seams at the bottom.
Some quick sewing tips now. I like to start sewing without a knot. For this thread your needle with double thread. Start sewing and insert the needle in the loop. You will have the loop on the other end of the thread. The stitching is going to be secured but there will be no knot at all. Check out this link if you want to see how it’s done.
Just sew a few reinforcing stitches by hand inserting the needle right into the seams so your stitches are not visible. Use the proper thread color, it has to match the color of the coat.
You will have to do the same with all other side seams – there are 3 more.

So here is my YouTube video. Check this out if you like to see how to shorten sleeves on a winter coat or jacket with lining instead of reading…
Did you find this tutorial helpful? If so, save this pin (see below) on your sewing board so you can come to this tutorial later when you need to shorten your coat or jacket sleeves and follow me on Pinterest for more tips, tutorials, and inspiration!

Like sewing tips? I have other popular tutorials on my site that might be interesting for you. Check them out below.


latest posts
- Ditch My Sewing Machine? Not in This Lifetime!
- Adorable DIY Needle Book | Easy Tutorial for Beginners
- Master the Seam Ripper: Your Ultimate Guide to Precision Stitch Removal
- Think You Know Zippers? This Installation Guide Might Surprise You
- Why Does Your Seam Ripper Have a Red Ball? Discover Its Purpose!
- Topstitching Troubles? This Simple Trick Will Turn It Around Instantly!
- How to Sew Shirring: A Step-by-Step Guide to Elastic Thread Gathering
- Are Self-Threading Needles Really Useful?
- Amazon Spring Sale: Best Choices
