
Nothing feels better on your skin than silk. That is why the best underwear, for both men and women, is silk (the most expensive too!). So why not pamper ourselves and sleep on silk sheets too? Is it too expensive? Perhaps not! Read on and you may be surprised.
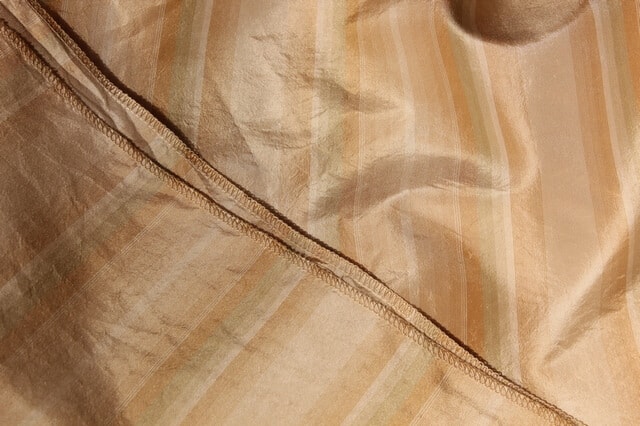
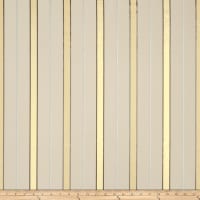
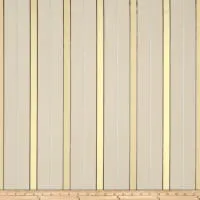
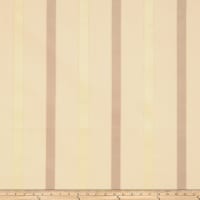
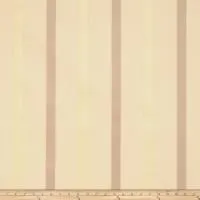
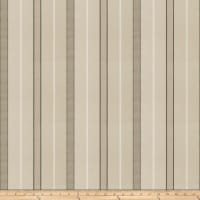
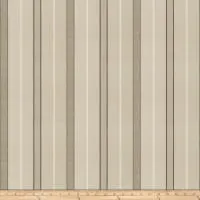
Recently I visited Canada, and one of the main Canadian fabric stores Fabricland was relocating and having a big sale. So I bought 6 meters of this nice 100% silk fabric for 10 Canadian dollars per meter (not a yard! the regular price was above 30 dollars). It was called Sangria silk and had all the properties of mediumweight silk Shantung.
The print on the fabric obviously suggested that it is not for garment sewing – it is a decorator fabric, and probably bedding. The fabric is durable (silk fiber is one of the strongest natural fibers), suitable for heavy use, washable and it is easy to sew. If you want to know about the many benefits of pure silk check out my article “ Great benefits of pure silk fabric“.


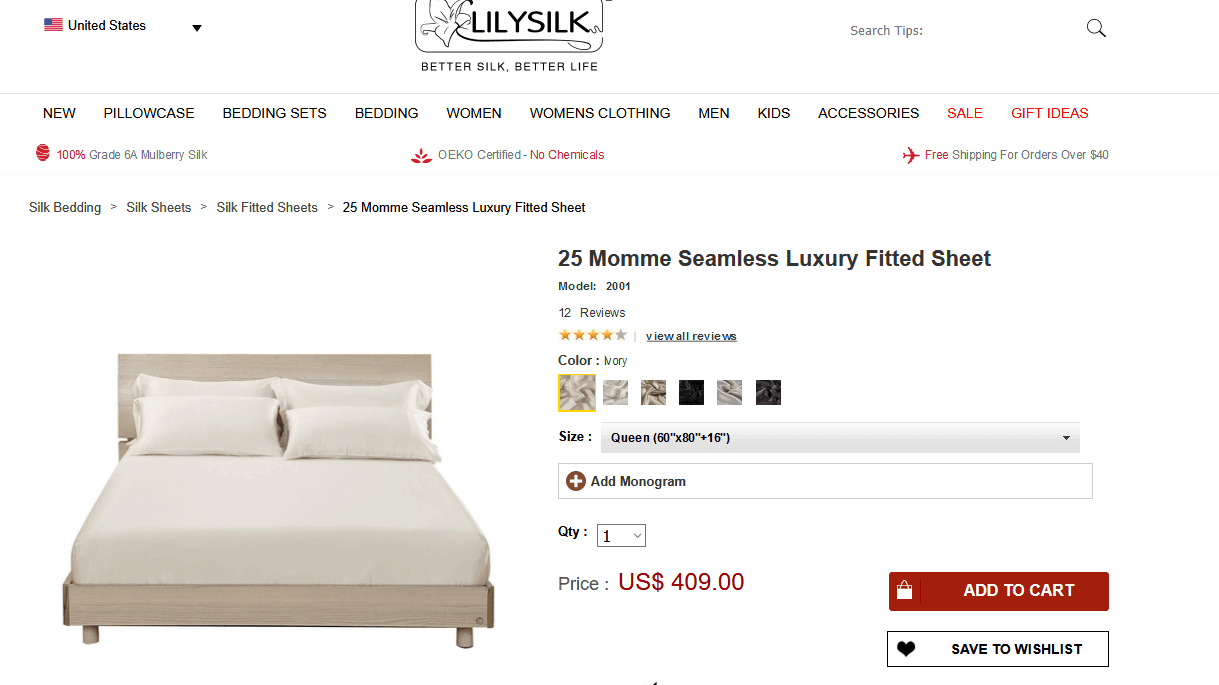
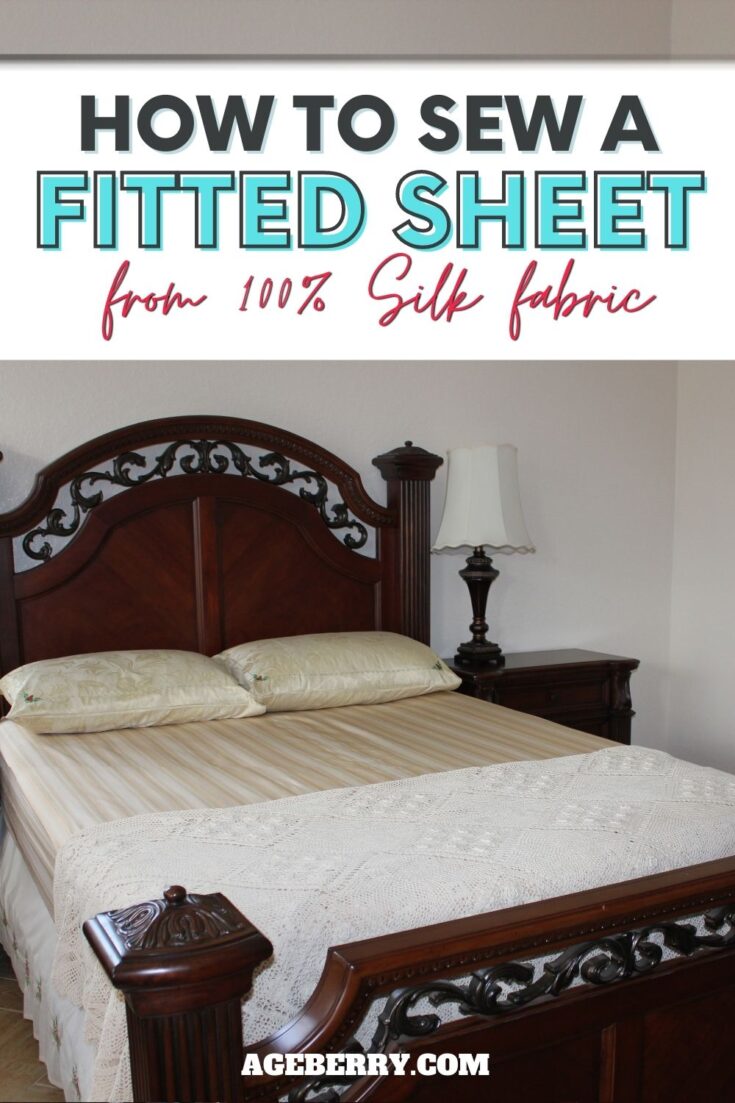
So I decided to make a fitted sheet for my queen bed out of this good quality pure silk fabric. And why not? Natural silk bedding feels exquisite but unfortunately, it is really expensive, I looked online and the cheapest price for a queen fitted sheet was 150 American dollars (not for the best quality), and the normal price was above $400; I am talking here 100% silk, not the polyester “silk-feel”.

But after all, we spend a third of our lives sleeping. So why not spend it in luxury and as comfortable as possible?
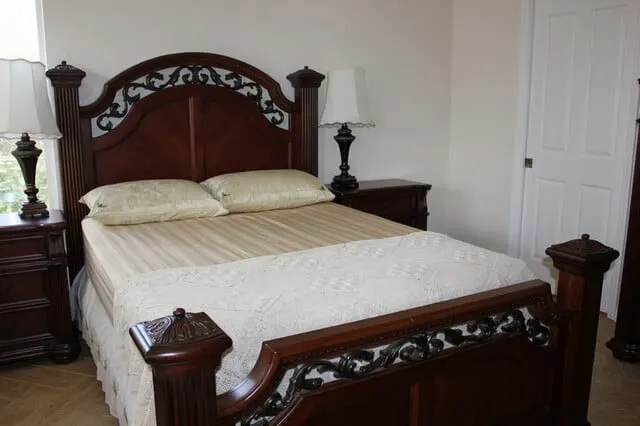
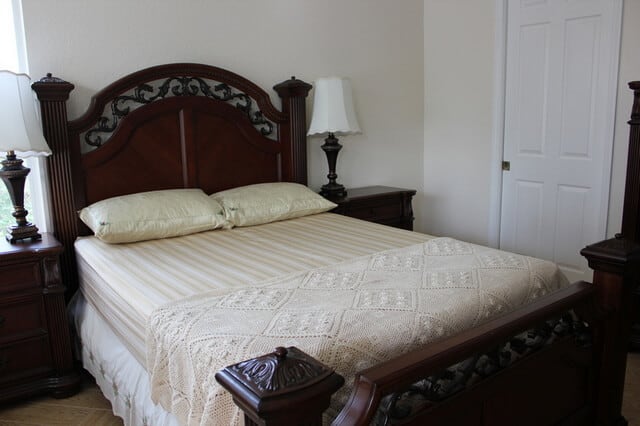
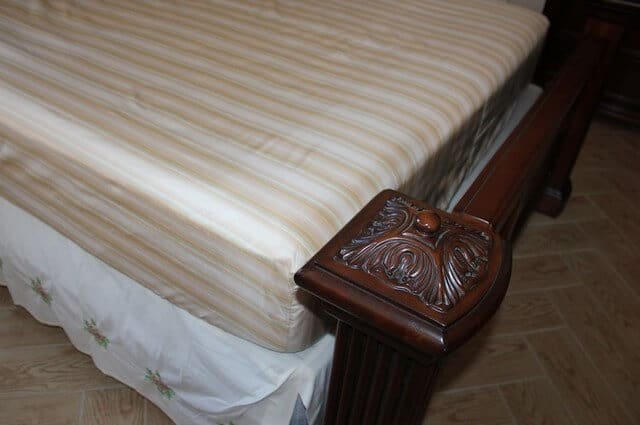
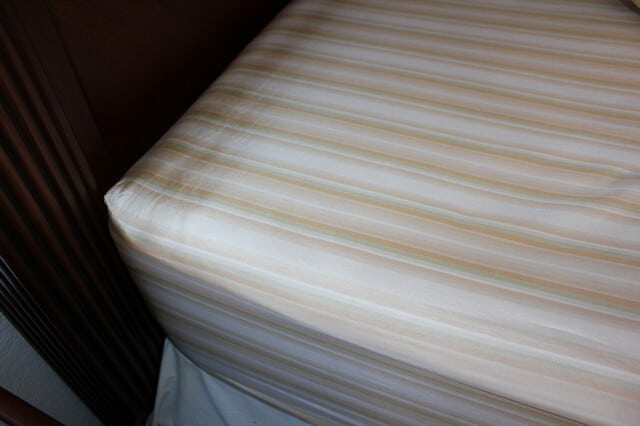
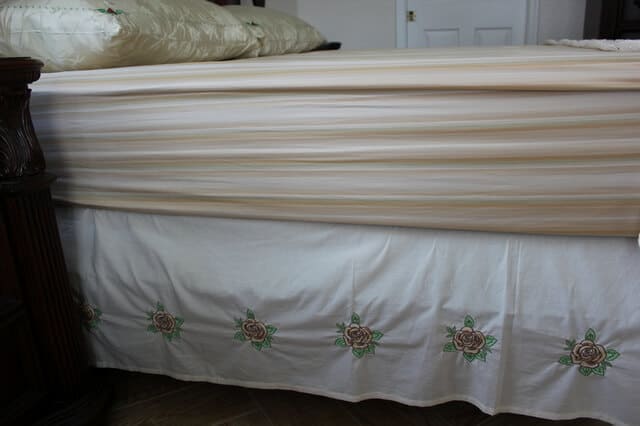
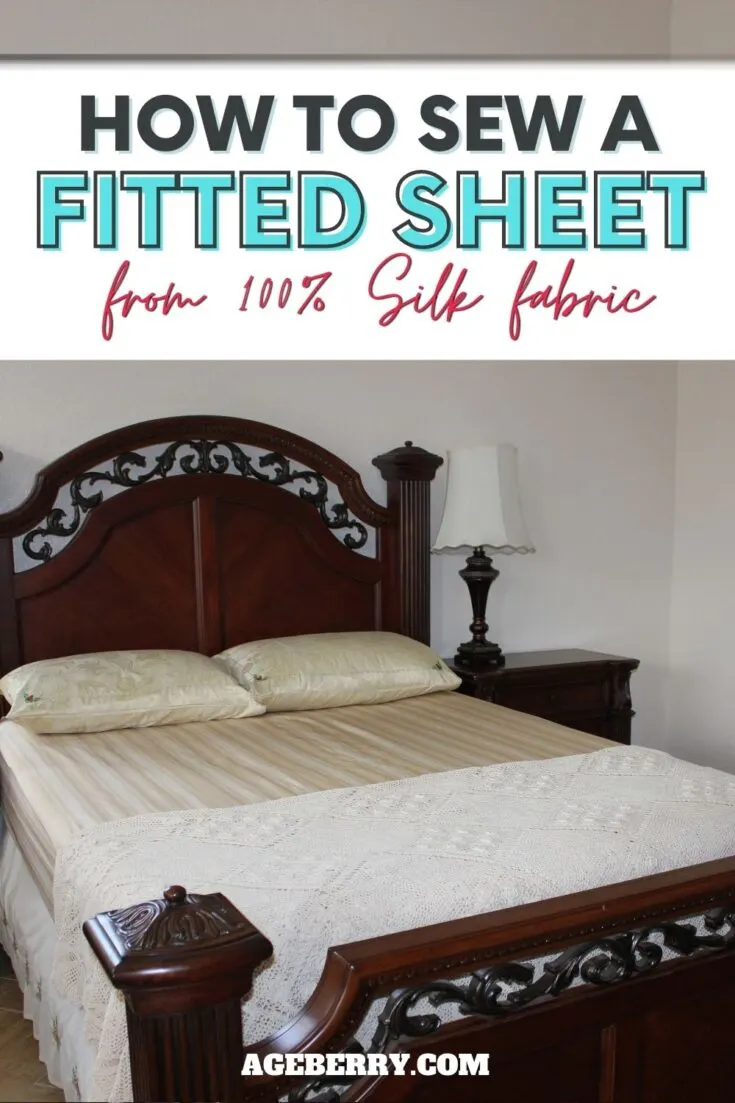
And here is the result of my work. I think it looks great! And how does it feel? Oh, it is the nicest sheet I ever had!

In this tutorial, I would like to show you how to sew a fitted sheet for any mattress size. I made it from natural silk (actually this was the point I wanted to share most) but it can be done from cotton or linen also, you can make the fitted sheet even from a flat one that usually comes with the bedding set.
By the way, I have so many flat sheets just sitting in my closet. I never use them because they are always sliding off the bed and I hate to tuck and readjust them all the time. Are not you the same?
So let’s proceed with making the fitted sheet.
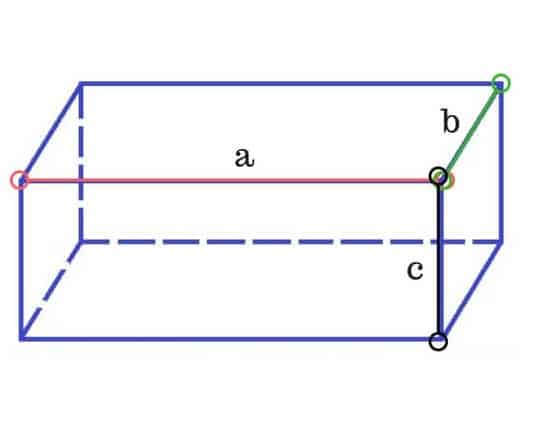
Step 1. First, you have to measure your mattress:
- a – length
- b – width
- c – height
After all, mattresses are different: for babies, kids, twins, queen, king, full, double, etc. Plenty of people have non-standard mattresses (in RVs for example). So you need to know the measurements for your particular mattress if you want to fit the sheet properly.
I have a pretty standard queen mattress and its dimensions in cm are these:
a = 200 cm b = 150 cm c = 25 cm

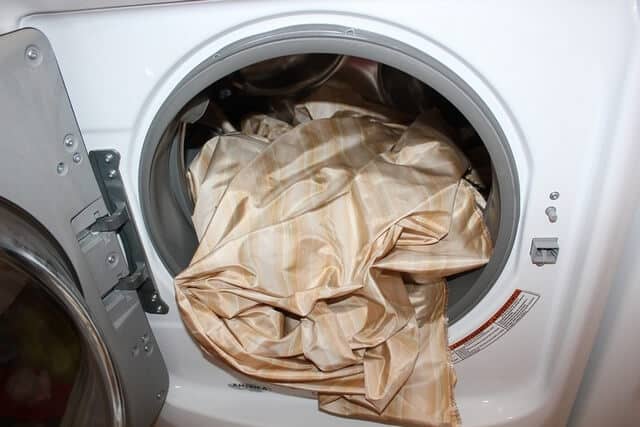
Step 2.
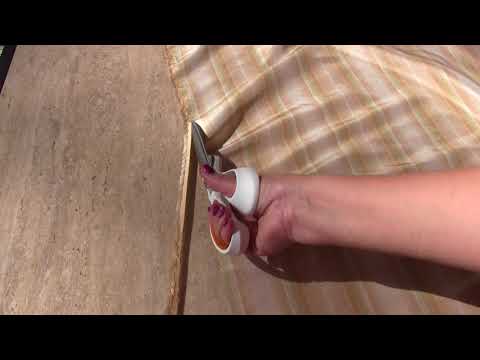
Pre-wash the fabric. If we are going to use it for bedding it has to go to the washer regularly. Before pre-washing I had to serge (to finish) 2 raw edges (the other two are selvages, they don’t unravel) because the silk fabric is fraying a lot and if you pre-wash in the washing machine without finishing the edges first you will lose quite a lot of fabric in both ends. So I pre-washed it in warm water for 20 minutes (so it will not shrink later) and let it dry outside (not in the dryer). After that, I ironed it with a steam iron.
Step 3.
Let’s cut the fabric. Before that, we need to square the fabric if necessary; please refer to my article “How to cut fabric perfectly straight” for a short tutorial. So you know your mattress length, width, and height. Look at the figure below for how you should have your fabric cut.
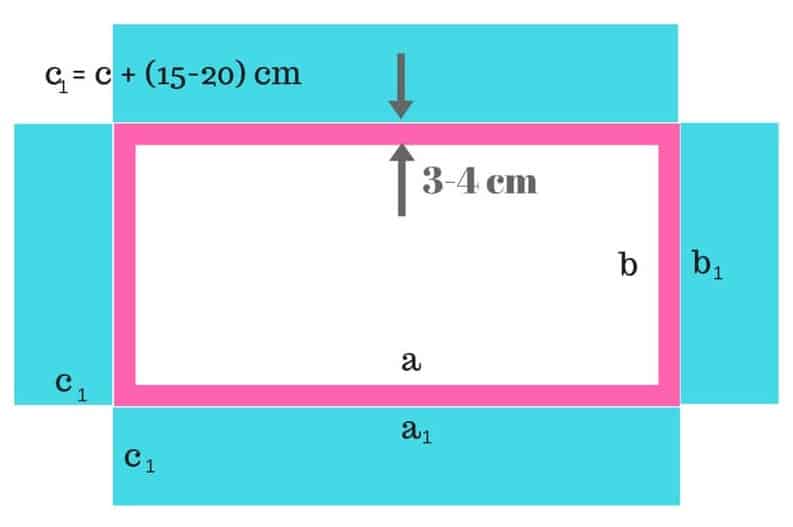
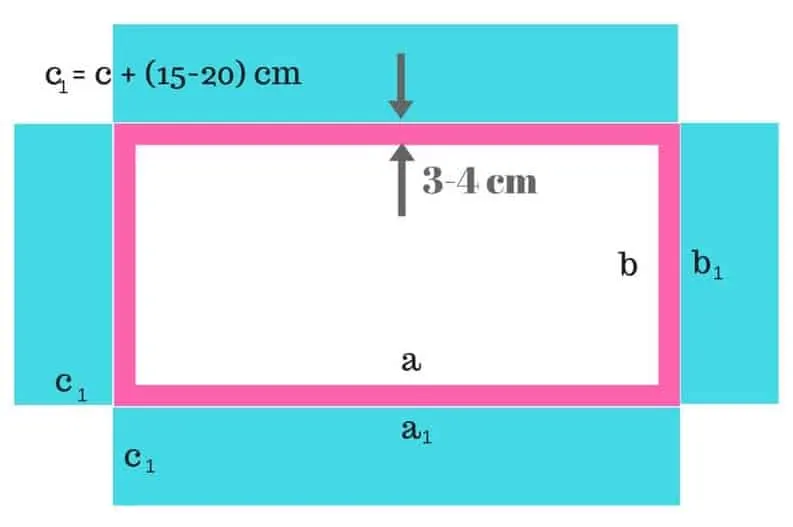
The inner white rectangle with a and b sides is the size of the upper part of our mattress. To this, you have to add 3-4 cm for each side for seam allowances (I show it as a pink line on the diagram).
The 4 blue rectangles are necessary to cover the sides of our mattress and c1 is equal to c plus 15-20 cm (this fabric will go under the mattress).
The final rectangle should be this size:
Length – a1 + c1 + c1 (in my case 206 + 40 + 40 = 286 cm)
Width – b1+ c1 + c1 (in my case 156 + 40 + 40 = 236 cm)
My silk fabric was not wide enough for this size of the mattress so I had to make a seam in the middle.
For the queen mattress my measurements were these:
Length – 286 cm
Width – 236 cm, but as I didn’t have wide enough fabric, I had to cut 2 pieces of 118 cm.
And I had to cut 4 square corners with the size of c1 (in my case it was 40 cm)
Step 4.
Let’s proceed to sewing itself.
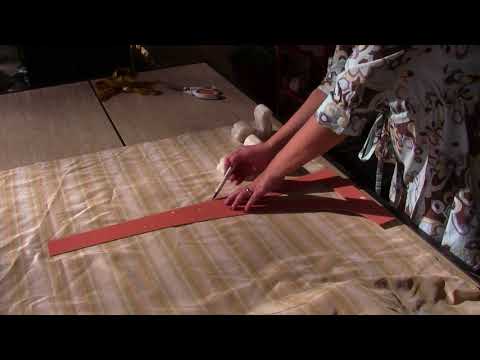
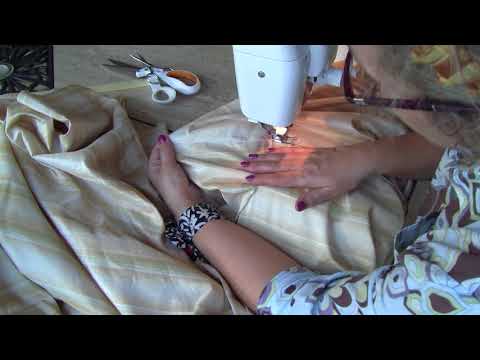
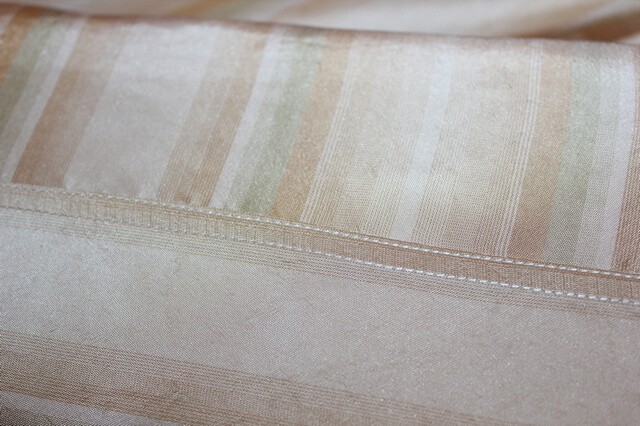
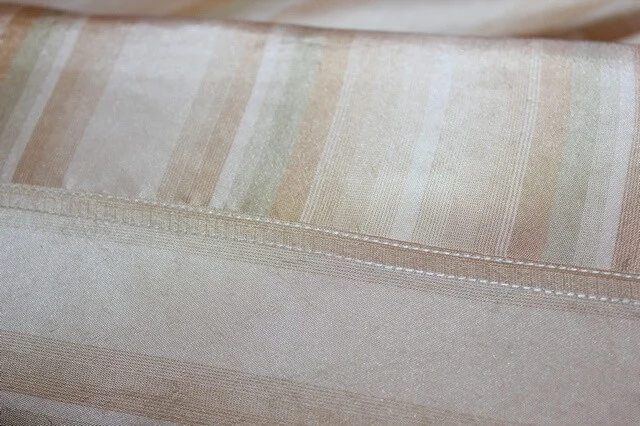
For the middle seam, I used so-called flat-felled seams. But I do them a little bit differently than I found in available tutorials. So I had to make a new tutorial “How to sew flat-felled seams on silk fabric (the easy way)”.
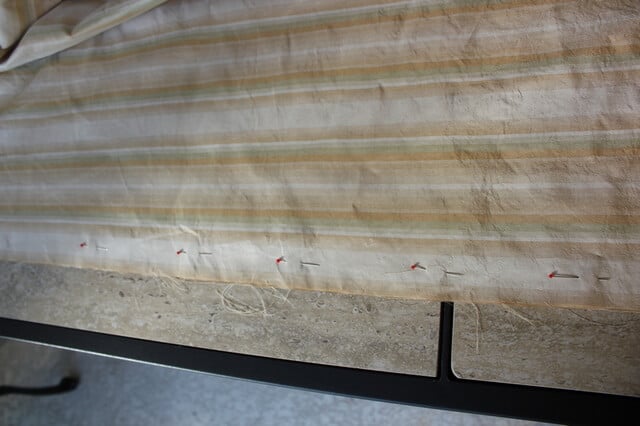
Pin the fabric right sides together (wrong sides out). Stitch 7 mm from the edges with a stitch length of 1.5-1.8 mm for silk fabric.
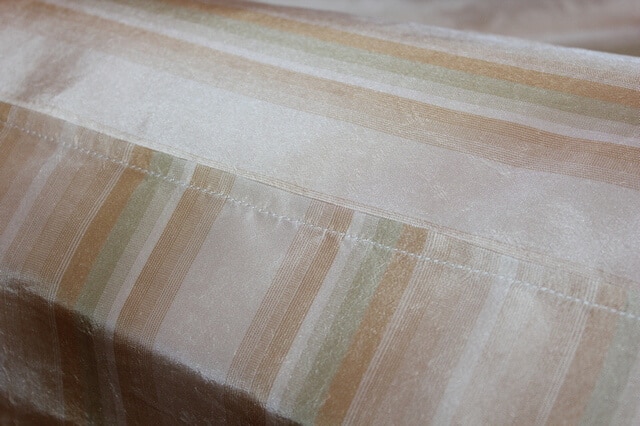
Press seams first and after that fold the seams exactly along the stitch line and press again.

Increase stitch length to 2- 2.2 mm and stitch over folded seams 5 mm from the first stitch line ( or from the folded edge, which is the same in this case).
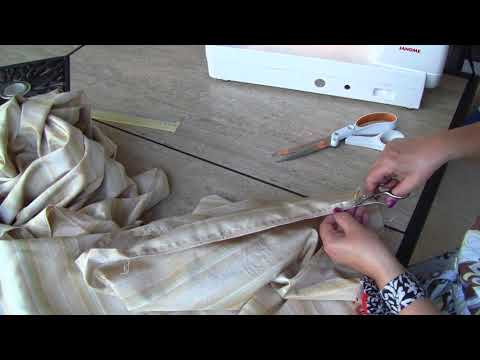
Trim excess fabric carefully (so you don’t cut stitches) close to the second stitch line using small scissors. Thoroughly press this turned-under seam on one side (the one you just trimmed) flat.
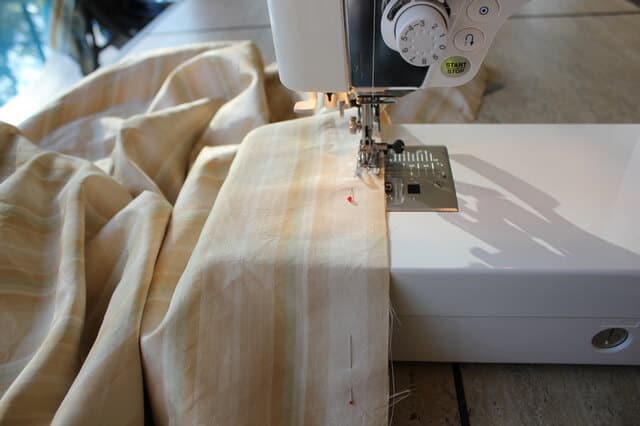
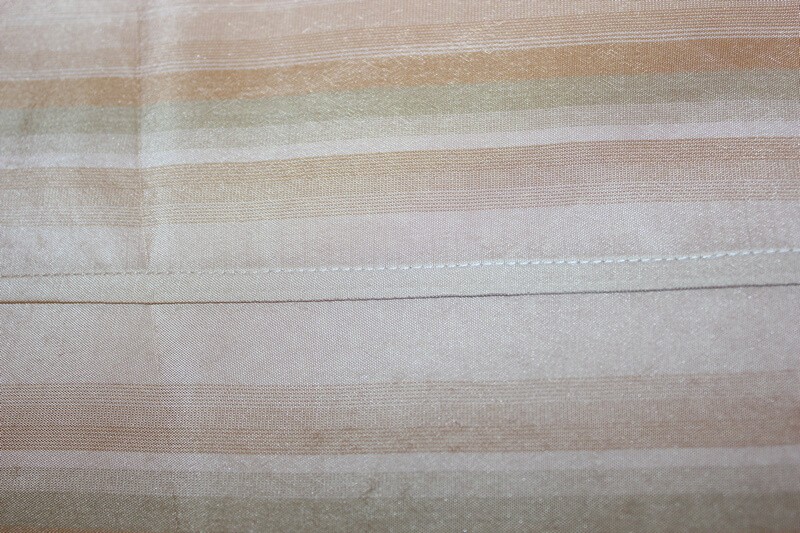
Carefully stitch the seam along the folded edge keeping an even distance from the other stitch line and not going off the folded edge. Try to sew as straight as possible for a professional-looking finish.

Step 5.
Now we need to sew together corners. For stronger and nicer corner seams I used also this flat-felled seams technique.


Step 6.
Now we need to attach elastic to the edge so our sheet will fit around the mattress. There are 2 ways of doing it – attach it all around the sheet or attach it only at 4 corners.
I decided to sew elastic all the way around, it seems to me it fits nicer this way.
But attaching elastic is not really an easy task if you have never done it before though it is a very useful skill. We need to attach elastic when sewing skirts and pants, etc.
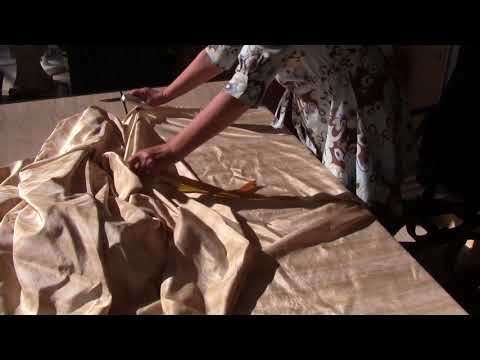
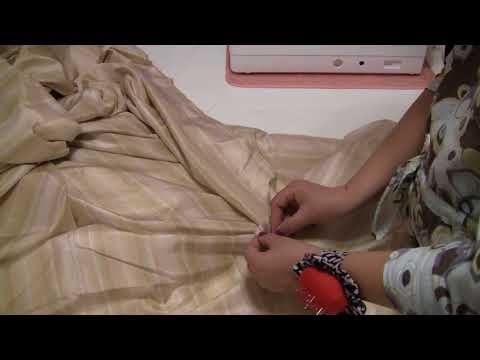
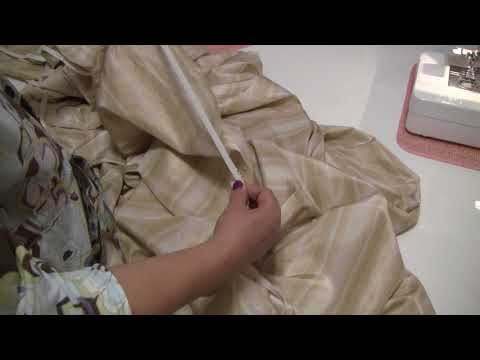
You will need to mark the positioning of the elastic on the sheet edge. For this sheet, you need to mark 16 notches with equal distances between them. For this fold the sheet in half lengthwise – mark 2 notches with sharp small scissors, then fold again in half – mark another 2 notches, fold in half again and mark 4 notches, fold again and mark 8 notches.
Take elastic about 5-8 mm wide which is not very stiff and stretches easily. The length of it should be around 3.5 meters (about half of the all-around measure of your mattress (2 a + 2 b))
Sew elastic ends together and now mark elastic with 16 pins (or mark it with a pen) with an equal distance between them. But this distance will be much smaller than on the sheet itself.
Pin elastic to the sheet edge at all 16 notch marks lining up the top edge of the elastic with raw sheet edge.
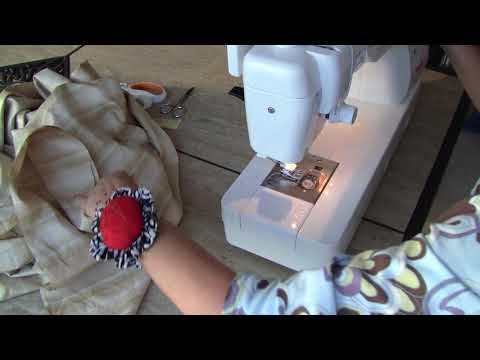
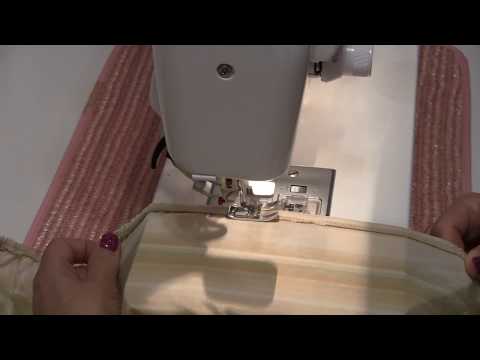
Now we have to stitch elastic to the sheet edge and I use my serger for this. But you can use also zigzag stitches on your regular sewing machine.
In the beginning, attach elastic to the sheet with a couple of stitches and after that pull the elastic very tight while you attaching it to the sheet.
After you finished sewing the elastic turn the sheet edge with the elastic in and stitch all around with regular straight stitches (length of the stitch can be 2.5 – 3 mm) stretching it while you sew and keeping it flat. After that turn it in one more time and topstitch again.
As you see this procedure is not really very easy (also it is not hard).
So if you are not sure you can do it properly you can just make a casing for the elastic all around the sheet edge.
For this fold the unfinished edge under about 1 cm and then again 1.5 cm and sew around with a straight stitch. Insert the elastic with a safety pin, sew the ends of it together and close the hole in the casing.
Ok, now the sheet is ready and we can put it on the mattress.

Now, if you are wondering where you can buy 100% silk fabric for bedding you can check www.amazon.com. I found plenty of natural silk fabrics there for bedding and home decor. Regular prices are very expensive but you can always find something nice on sale.
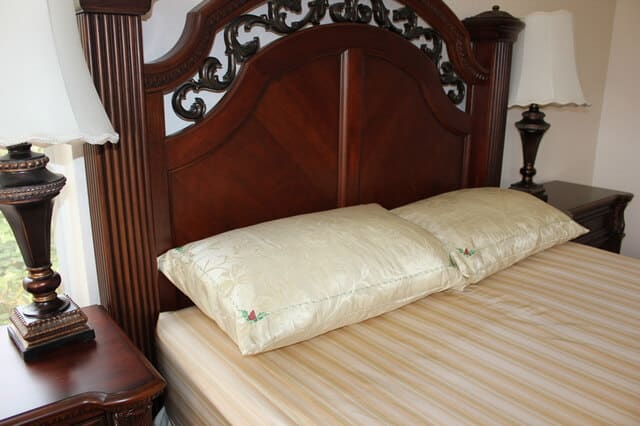
If you are interested in how to sew silk pillowcases that go with the silk fitted sheet check out my step-by-step tutorial “DIY pure silk pillowcase for better and healthier sleep“.
latest posts
- Adorable DIY Needle Book | Easy Tutorial for Beginners
- Master the Seam Ripper: Your Ultimate Guide to Precision Stitch Removal
- Think You Know Zippers? This Installation Guide Might Surprise You
- Why Does Your Seam Ripper Have a Red Ball? Discover Its Purpose!
- Topstitching Troubles? This Simple Trick Will Turn It Around Instantly!
- How to Sew Shirring: A Step-by-Step Guide to Elastic Thread Gathering
- Are Self-Threading Needles Really Useful?
- Amazon Spring Sale: Best Choices
- Elevate Your Prom Look: A Guide to 10 Neckline Choices (2024)
